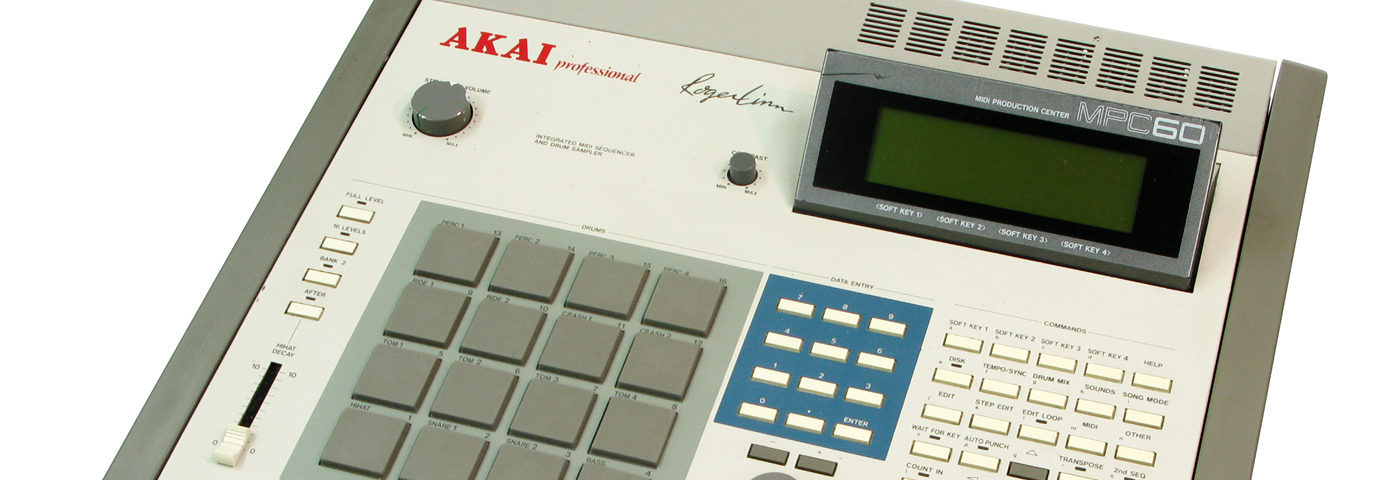
In the latest Beat Dissected, we construct a Jersey-inspired garage beat with a mixture of drum machines sounds and sampled hits.
Beat Dissected is a regular series in which we deconstruct drum patterns, showing you how to program them in any DAW. Just copy our grid in your own software to recreate the loop.
Pull the project from Blend below to download the samples.
Here’s the beat we’re building today:
Spec
Tempo
123-127 BPMSwing
58-63%Sounds
Various Drum MachinesStep 1
To begin with, we load a new Ableton project, create a new audio track and drag the kick drum to the channel. We’ve decided to use a sample that has a noticeable ‘sampled’ quality to it. The kick has a lot of mids and highs but also a substantial amount of low end.
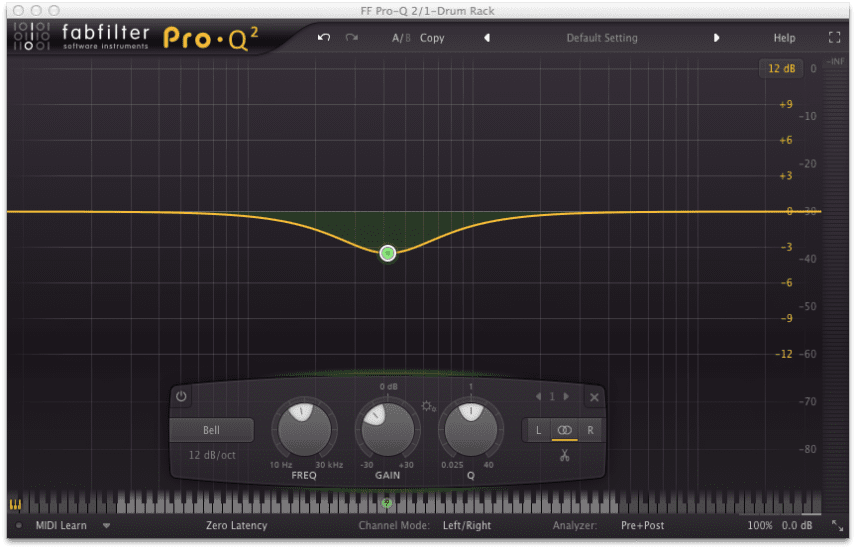
As the kick sample has already been treated, there is not much to add to the processing of the sound. We did however reduce the low-mids at 300 Hz to clear up some of the muddy frequencies.
The pattern is a classic four-to-the-floor.
Step 2
The next part of the sequence is to add a snare drum. We’ve taken a sound from an Alesis DM5 and the pattern is a simple hit on the second and fourth beat of each bar.
We’ve layered the snare with a clap, also from the Alesis DM5. Layering drums in this way can give the overall combined sound more character. When layering drum hits, pay special attention to the choice of sounds that you use. For example if you want to create an authentic retro sound make sure to use the right sounds in the first place.
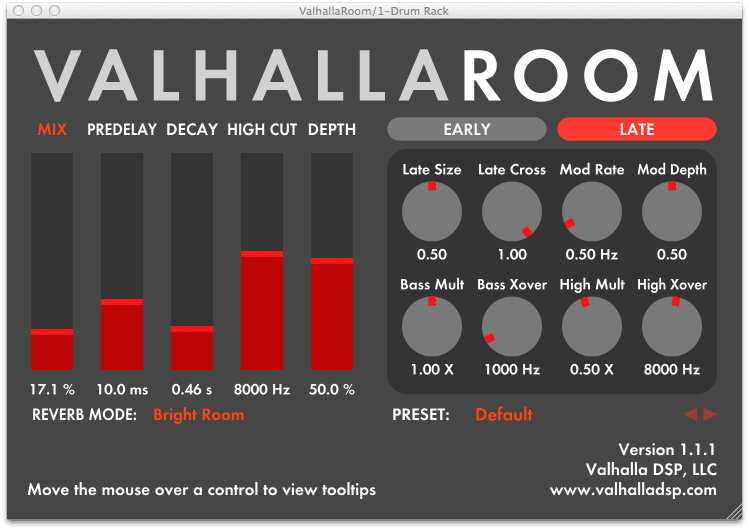
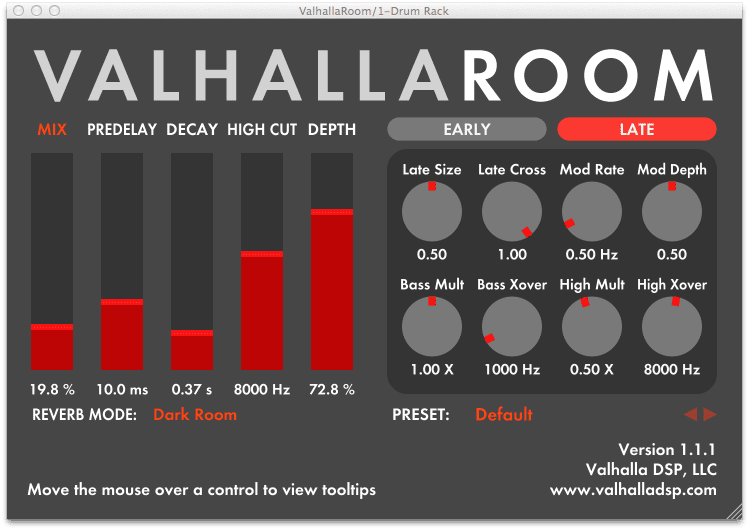
There is not too much processing required with the snare/clap combination as the sounds are already processed and sound good together. We’ve added some small room reverb for depth, making sure it’s not overdone – only 17% mix to the original signal with a short decay of 0.46s.
Step 3
Once you apply the hi-hats you begin to get that classic jackin’ sound. To begin with, we’ve chosen a pedal hi-hat sample. We’ve layered this with another hat that has very little attack and works in a similar way to a shaker or cabassa sound. Then on top of that we’ve layered yet another hat sample for a third flavour.
We now have a composite hi-hat sound made up of three separate layers all blended together.
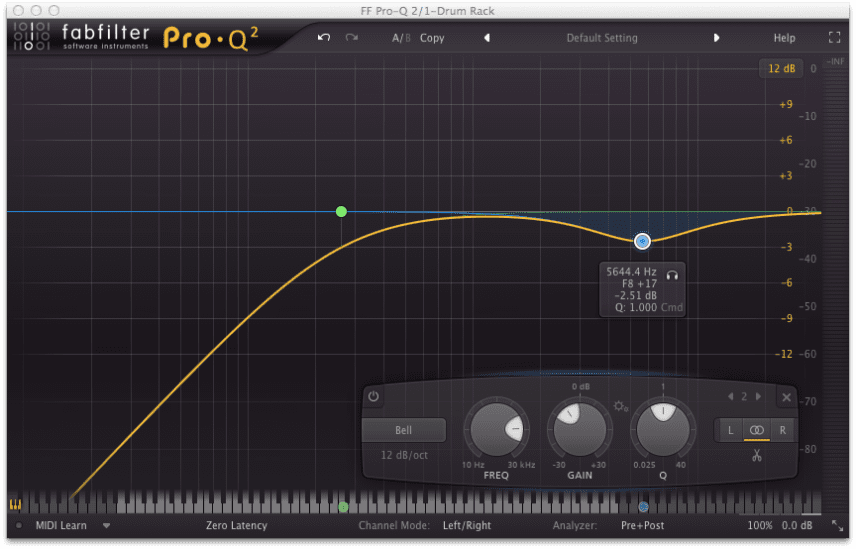
In keeping with the first two steps, we’ve not added much processing to the overall sound. We’ve removed any unnecessary low end with a high-pass filter and reduced the brightness of the sound by cutting 2.5 dB at around 5.5 kHz.
Step 4
The next step is to add in some percussion. We’ve chosen a glitch-style snare hit. In keeping with the rest of this track, the processing is minimal as it sounds good in its natural state.
The important thing here to is to ensure the pattern works closely with the hi-hats. We begin by following the hi-hat sequence, but we’ve also added in some extra ghost notes. These give the beat an interesting counter-rhythm and an extra rhythmic layer.
Step 5
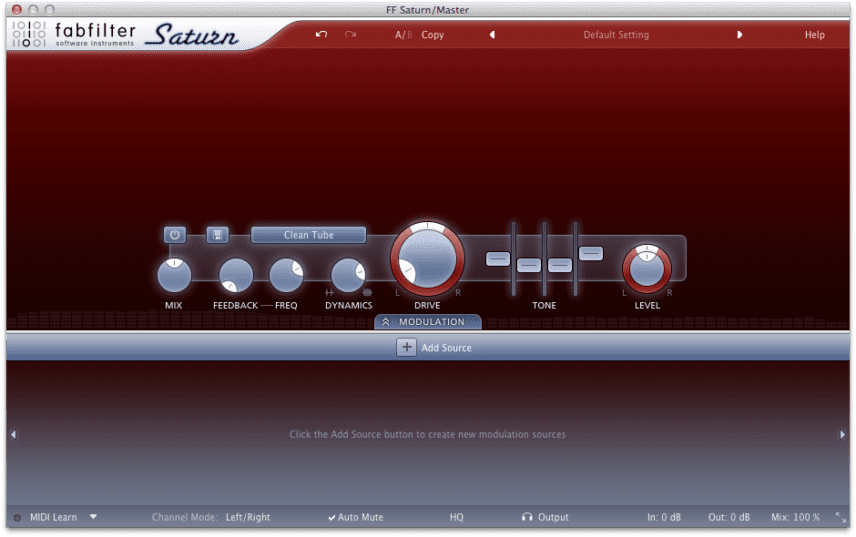
The final stage is to process the drums in order to glue them together. We’ve used Fabfilter Saturn with a ‘clean tube’ setting, 10% drive and the band dynamics at .500. We’ve slightly toned down the low-mids and blended the resulting sound with the original by setting the mix control to 50%.
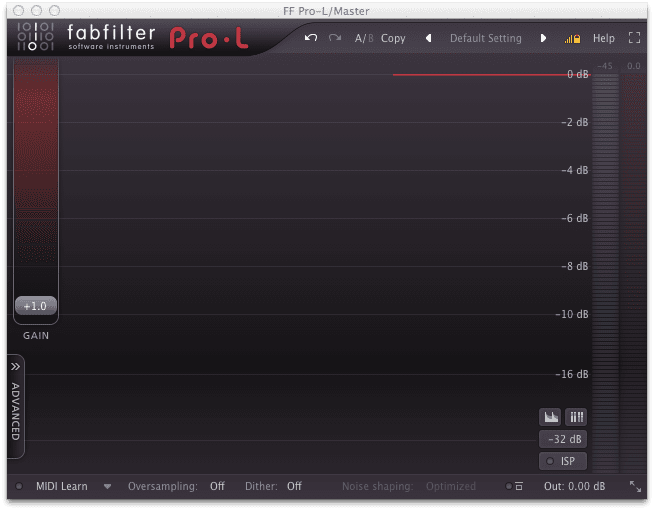
After Saturn, we’ve applied Fabfilter’s Pro-L limiter to prevent any unwanted clipping and to increase the overall loudness.
