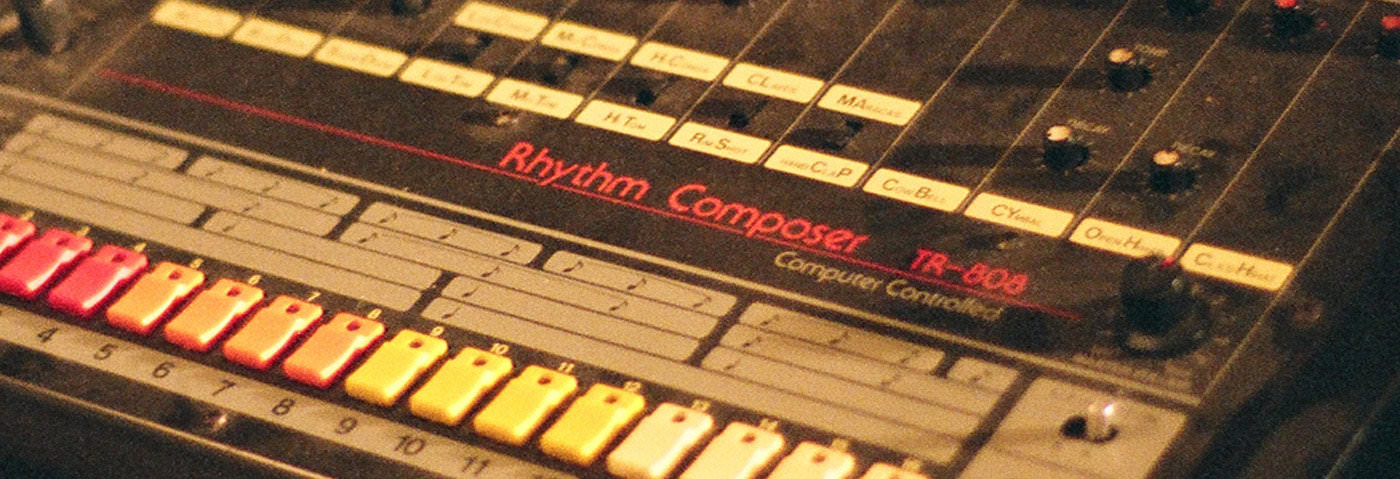
Getting drum machines and hardware sequencers to play nice with your DAW isn’t hard but you have to know the proper settings. In this Hardware Focus, we find out what’s up with sync.
In Hardware Focus, we’re all about working with physical devices, like synthesizers, drum machines, and sequencers, both standalone and those inside of other instruments. Don’t get us wrong, we love plugins too, but there’s just something satisfying about working with physical devices. All those knobs really get the creativity flowing. Until, that is, you get stuck trying to make everything work together. Nothing will kill the flow state faster than a piece of hardware that won’t properly sync. To make sure that doesn’t happen, let’s look at how we can get everything set up so that when the time comes, you can concentrate on creativity.
This piece is aimed largely at beginners, so if you’re already familiar with syncing drum machines and hardware, you may want to turn off your phone and get back to beat making. That being said, we will touch on some more advanced concepts, such as syncing non-MIDI devices, towards the end.
If you haven’t already, you may want to get yourself caught up on some of our recent articles on hooking up MIDI and audio. We’re going to assume that you’re already good with these. If you need a refresher, check these out:
Ready to synchronize?
MIDI Clock Sync
To get a drum machine or hardware sequencer to play in time with a DAW, we need to make sure that MIDI clock is being sent from the DAW to the device. It’s not enough to just send MIDI notes. Sure, you can trigger drum sounds on your drum machine from a MIDI controller just like any other instrument, and this is useful if you want to use your DAW as the sequencer, but we’re guessing that since you bought a drum machine, you probably want to make use of its own sequencer and swing settings. Let’s see how we can do this.
First, make sure that your device is properly connected to your computer, either via a MIDI cable or USB (if it supports it). You also need to route audio from the device into your computer, whether that be through an audio cable or USB.
We’ll bet that if you hit play on your DAW transport now, the sequencer on your external device won’t start. This is because it’s not receiving MIDI clock from the DAW. Almost every sequencer has a clock and it’s usually set to internal. We need to change this so it receives stop/start and timing information from an external source.
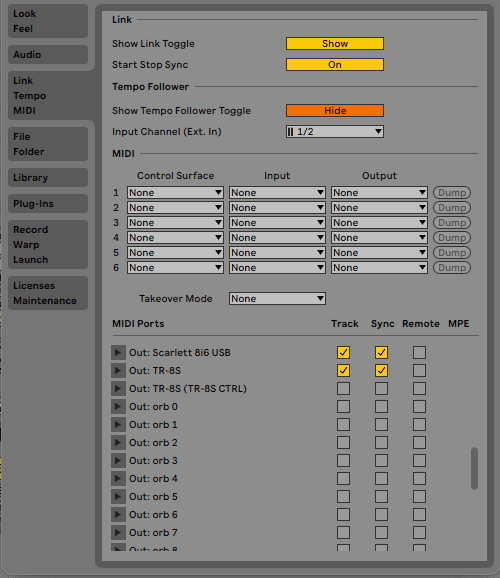
Open the preferences on your DAW. We’re using Ableton Live but the concepts are fairly universal and should apply to almost any DAW. Go into the MIDI section (labelled Link Tempo MIDI in Live 11) and find your device or MIDI interface in the MIDI Ports list. Check the Sync box next to the device in the Out section. Now MIDI clock will be sent from the DAW to the device.
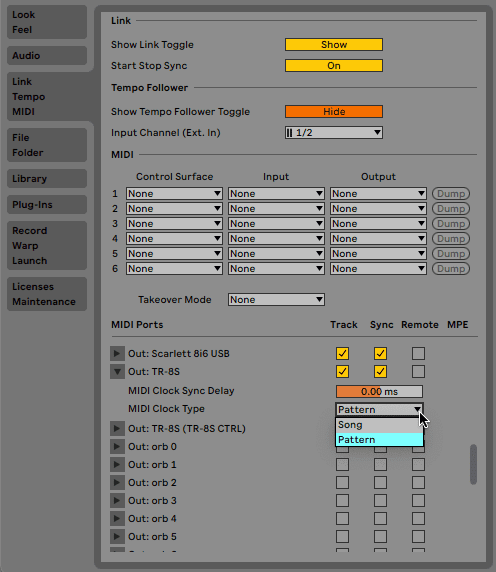
Next, let’s set the clock type. Click on the small triangle next to the device name to reveal a menu. Find MIDI Clock Type and choose Pattern from the dropdown menu. This is for devices that loop, like drum machines or step sequencers. (Song mode is intended for syncing other DAWs.)
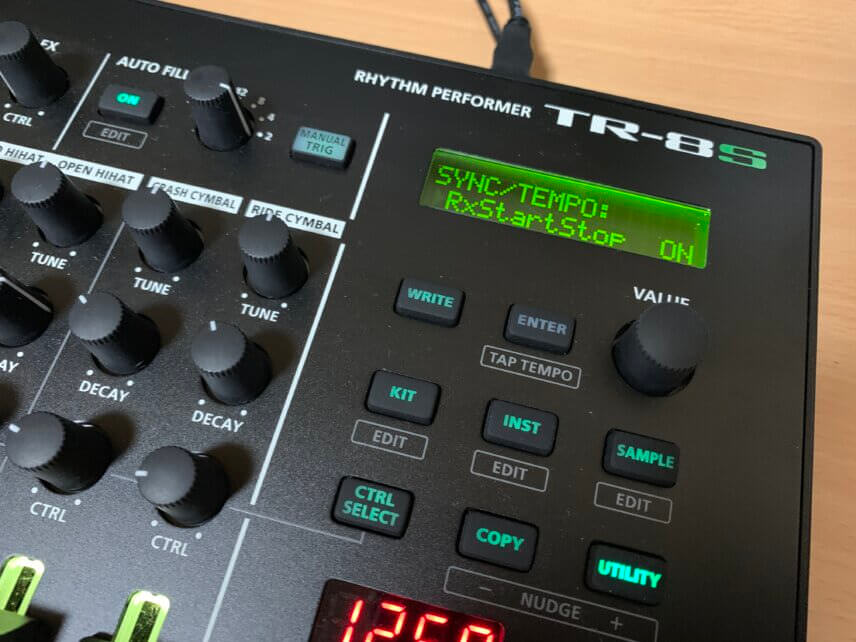
We’re not finished yet though, as the device’s clock is still set to internal. Go into your device menu and set the MIDI clock to ‘external’ (or something along those lines). Now MIDI clock entering the device from outside will tell it when to start and stop and what tempo to play at. Give it a try.
If you find that the sequencer on the device is not synced perfectly with your DAW, you may need to adjust the latency. Back in Preferences in the same section, adjust the MIDI Clock Sync Delay amount. It might be necessary to turn on the metronome on both DAW and device to make sure they’re properly synced.
Top Tip: If you’re plagued by stability issues, try using a dedicated MIDI port for the sync signal. Piggy-backing on a cable that’s already occupied with MIDI note and CC information could disrupt the clock, especially on older devices.
DIN Sync Conversion
Some of the most famous pieces of hardware, like the Roland TR-808 and TB-303, are pre-MIDI. Although they have five-pin DIN sockets on them, these won’t accept MIDI clock. How then should you go about syncing them to a DAW?
From about 1980 until the advent of MIDI, Roland and Korg outfitted their sequencer-driven instruments with what has come to be known as DIN sync. This was a rudimentary sync signal that used a standard five-pin DIN cable to connect equipped devices. This allowed you to connect an 808 to a 303 and they would run in sync.
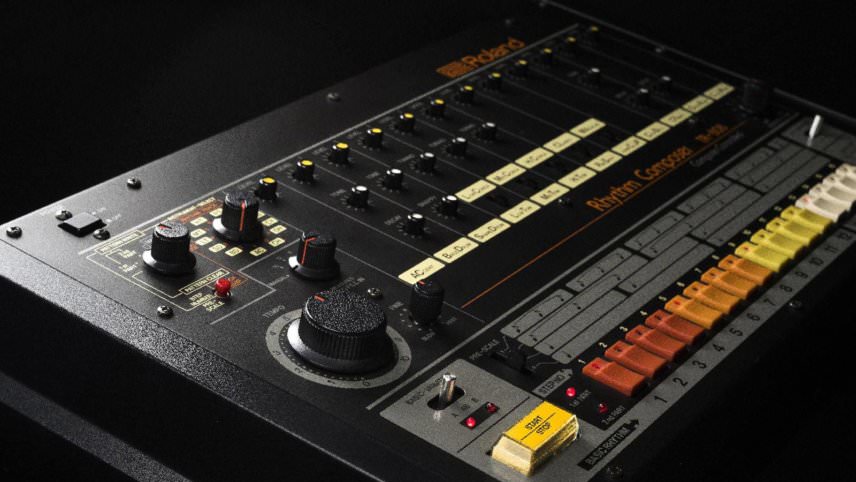
However, before MIDI introduced a standard system, every manufacturer had its own protocol. Roland used Sync24, or 24 pulses per quarter note. Korg, however, used Sync48, or 48 pulses per quarter note. Try syncing a Korg device to a Roland device and they won’t be running in time – one will be playing at half the speed of the other!
To get a DIN sync device to work with MIDI, you need a converter. There are a number of converters on the market, both new and used, and many can handle both Sync24 and Sync48. Kenton’s D-Sync has MIDI in and out and Sync in and out. It can be set to operate in 24- or 48Sync. Doepfer makes a similar product, MSY2, with MIDI in and thru and two Sync outs. It can also run in either 24 or 48. If you need more sync options, Roland’s sadly discontinued SBX-1 Sync Box adds USB MIDI and CV/gate to the usual MIDI and Sync options. Lastly, Korg’s vintage KMS-30 is a good budget option and includes tape synchronization, should you be working with multitrack tape.
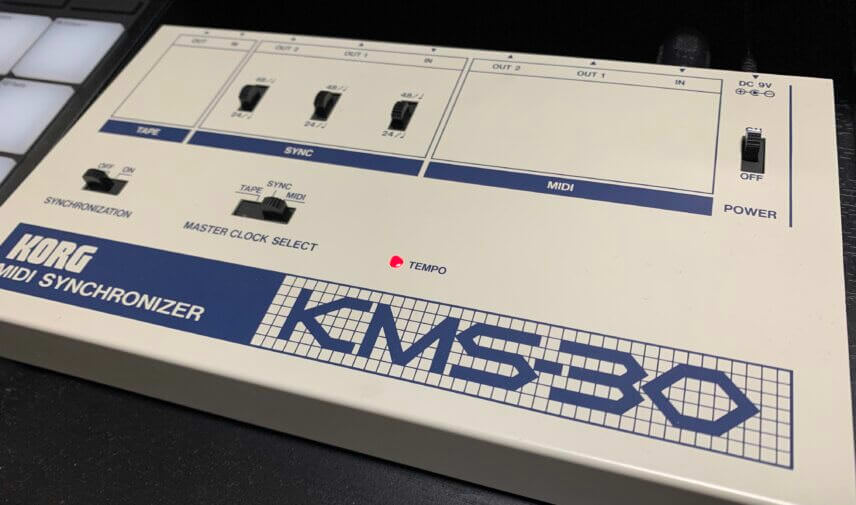
One last thing about converting MIDI to Sync. You may hear people recommend using a dedicated sync cable with a sync device, rather than a standard MIDI cable, although we have never had any trouble with MIDI cables and sync devices.
Modifications
Should you be the proud owner of a drum machine or device with no MIDI or DIN sync port, there’s always the option of adding a modification. There are a number of mod kits available to add sync functionality to older devices. If you’re not handy with a soldering iron there may be an outfit willing to install it for you.
Happy syncing.
*Attack Magazine is supported by its audience. When you purchase through links on our site, we may earn an affiliate commission. Learn more.
