In this instalment of Beat Dissected, we will create a dirty tech house beat from drum machine samples.
Beat Dissected is a regular series in which we deconstruct drum patterns, showing you how to program them in any DAW. Just copy our grid in your own software to recreate the loop.
Pull the project from Blend below to download the samples.
Here’s the beat we’re building today:
Spec
Tempo
122-127 BPMSwing
CustomSounds
Various Drum Machine samplesTo really capture the groove inherent in this type of tech house/house music, we’ve created a custom groove, which we’ve included as a MIDI clip in the Ableton project.
Step 1
To begin we create a bass drum, loading ‘Bass Drumtrax 04’ from the Drumtrax From Mars sample pack. Creating hits on every beat, we’re careful not to make each hit too long.
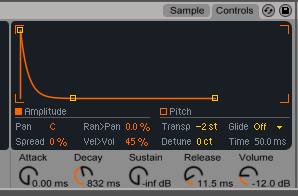
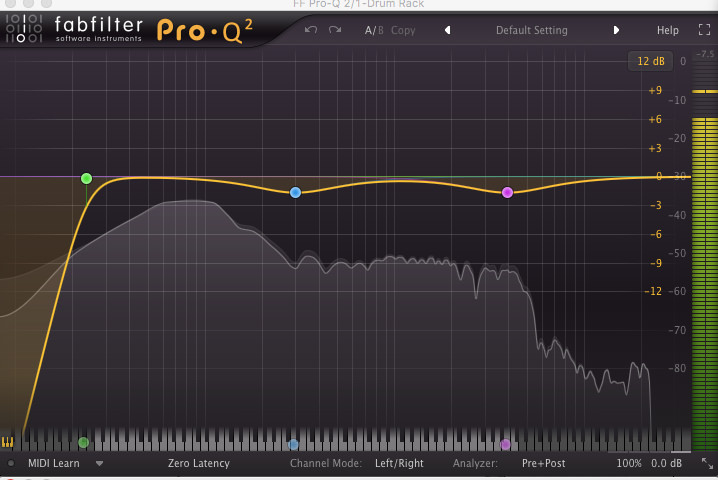
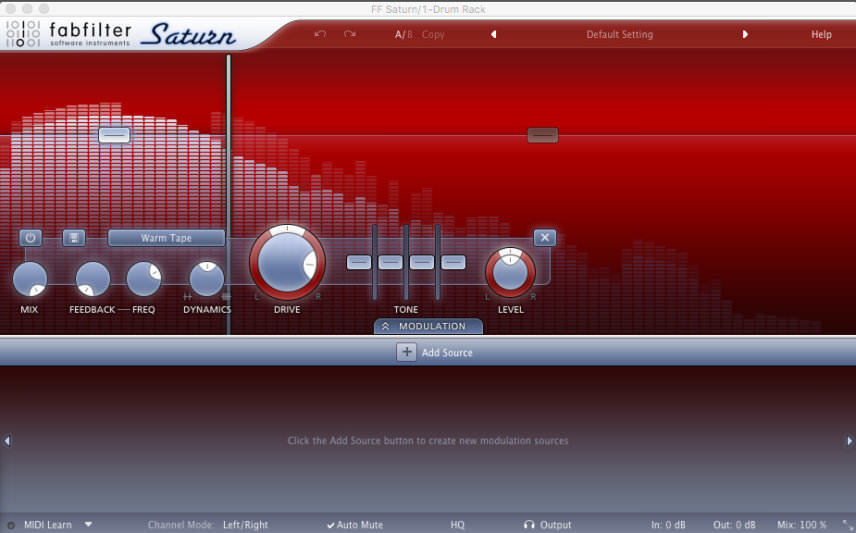
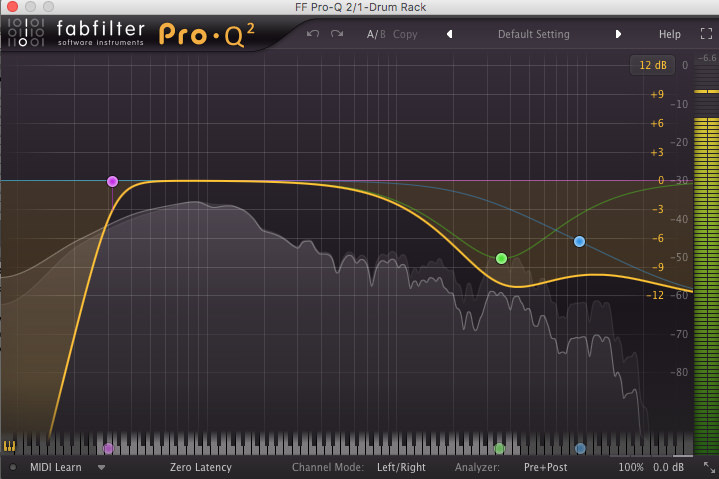
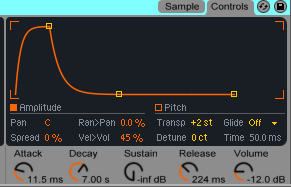
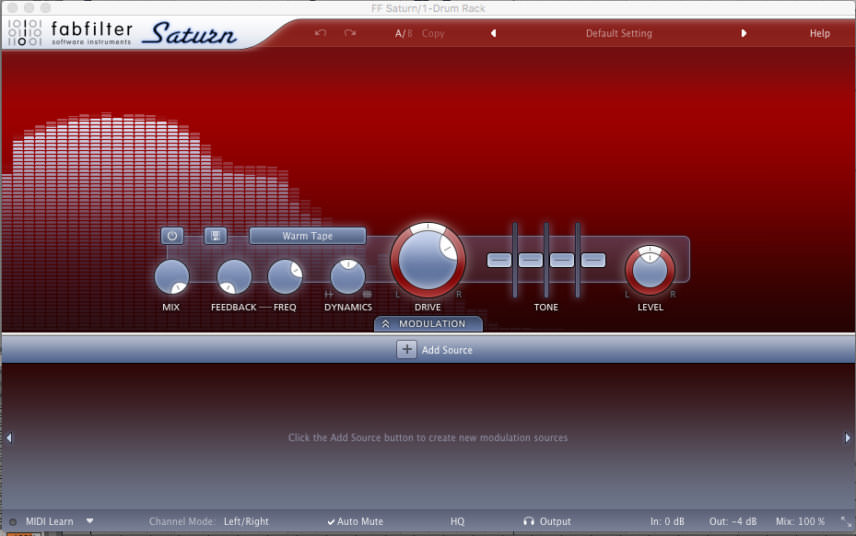
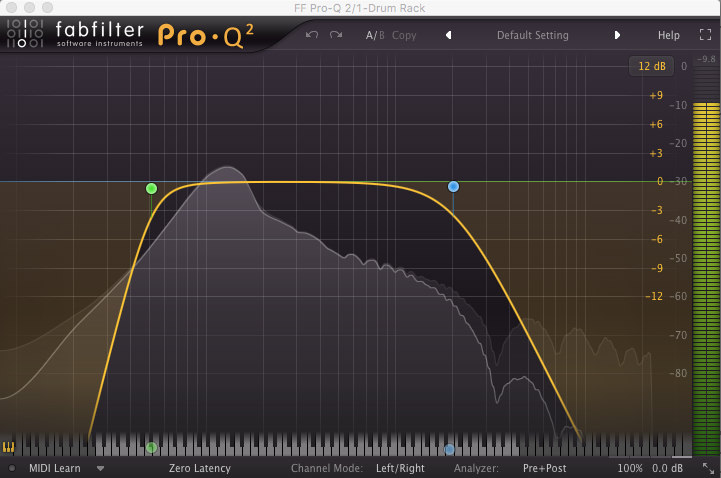
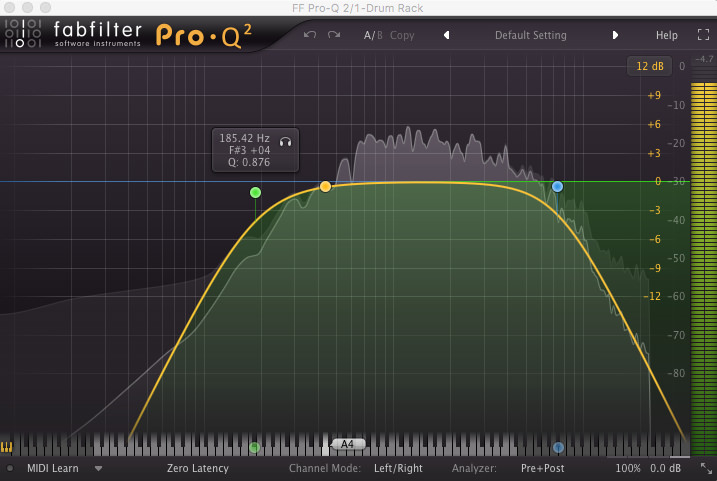
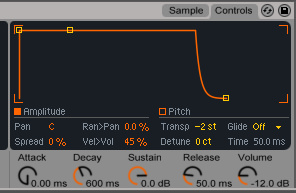
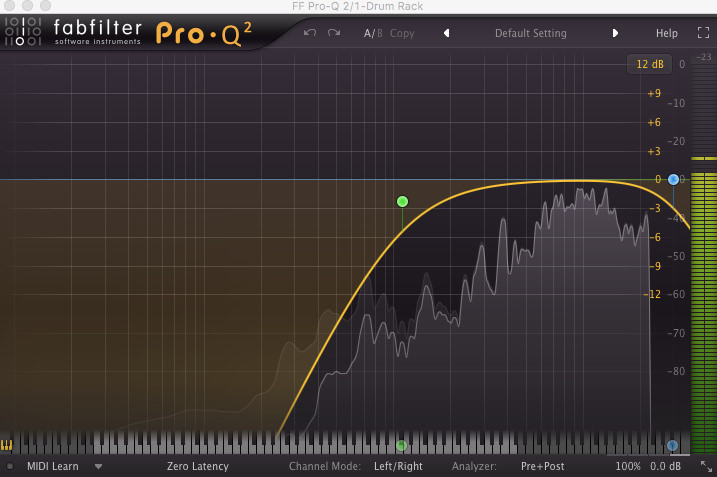
We tune the bass drum down 2 semitones, so it plays an F# note (we’re working in F#minor), then tweak the envelope for a tighter hit. Then we EQ, saturate, then EQ again, using Fabfilter’s Pro Q2 to first dip some low and some mids, then Saturn for saturation, splitting the low and mid/high bands before we EQ again, taking out more lows and lots of the highs.
Saturn brings out a really nice tone in the bass drum, but with way too much aggression for our needs, and also the transient is far too strong and poppy. The high shelf dip in the final EQ is effective at taking this out.
Audio PlayerStep 2
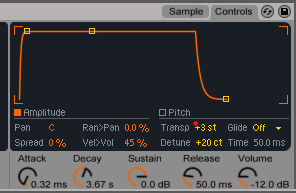
Next up, the sub. We load ‘BD_Tuned_2_808_E’ from the 808 From Mars pack. As it’s tuned to an E note, we pitch it up 2 semitones so it’s in tune with our first bass drum. We back off the attack and tweak the envelope so the sub is big but not out of control.
We program hits on every beat, with the notes much longer than the bass drum. We saturate again using Saturn, which brings out a nice tone in the sub and also serves to compress the sound a little.
Audio PlayerStep 3
Next we add another kick for some syncopation, programming various hits through a four-bar sequence. The tuning of this kick means it’s playing an octave above the bass drum. For the final few hits of the loop, we automate the pitch to play higher, creating a playful, melodic feel to the groove.
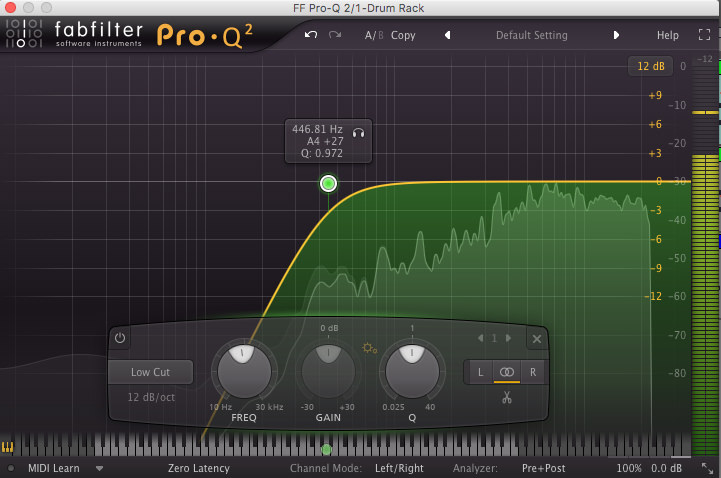
We take the transient off the sample, backing off the attack and also EQing out the low and high frequencies from the sound.
Audio PlayerStep 4
Next we make a clap sound using LinnDrum and Drumtrax samples, playing on every up beat. We EQ the LinnDrum clap, sweeping off some of the highs and lows, allowing the two sounds to play together better, with less of a clash of frequencies. We also apply a tiny amount of manual track delay to the Drumtrax clap, so it plays slightly before the other clap and the kick, adding a slight looseness to the groove.
We then add a snare sound, shortening thesSustain for a snappier hit. The snare plays double hits at the end of every two bars for a simple fill.
Audio PlayerStep 5
Next we add open hats on the off beats, knocking off some of the transients by backing off the attack slightly.
We then add a simple EQ, sweeping away lots of low and low-mid frequencies. To put more emphasis on the fill at the end of each four-bar phrase, we add another open hat, tuned to play nicely with the other sounds.
Audio PlayerStep 6
The rhythm kick is taking care of the low percussive elements, but we could do with something pitched a bit higher for contrast. We add a tom sample, placing an off beat hit every two bars. We pitch this right up, making sure to stay in key with our other sounds.
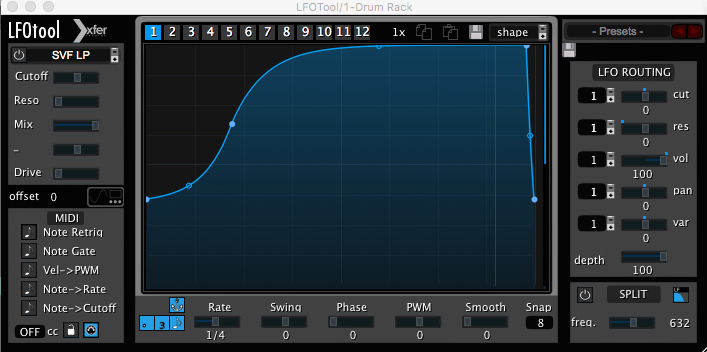
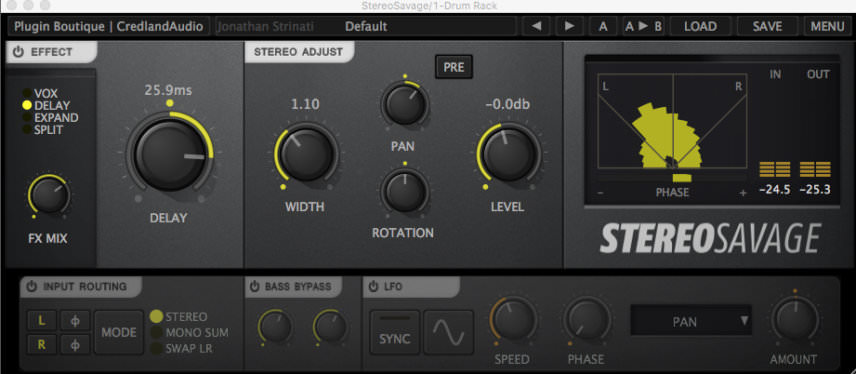
We also add a ride cymbal playing 8th notes. We tweak the envelope to take off all the transient hit of the sample, then duck the ride using an LFO tool, EQ and use Stereo Savage for some width, providing some nice air to the groove as well as some much needed stereo imaging.
Audio PlayerStep 7
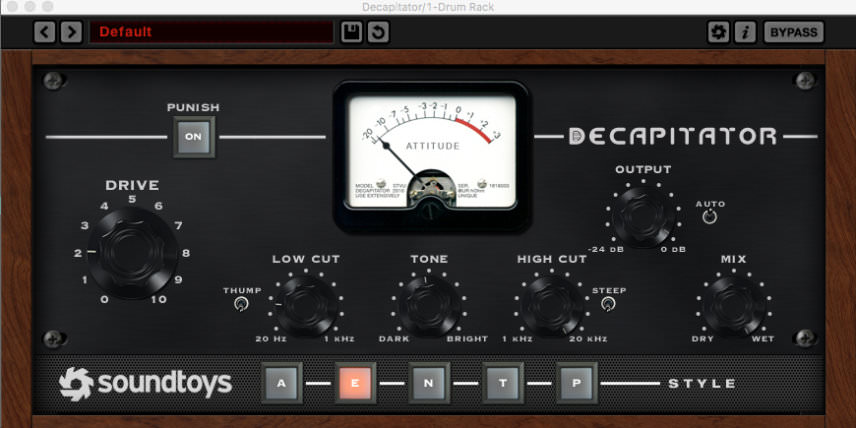
Finally, some group processing. We saturate using Soundtoys’ Decapitator, dialling up the drive a little and using the low cut filter to sweep off any mud. We set the Style to E, for a bight and airy vibe.
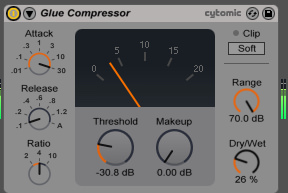
We also compress using Ableton’s Glue Compressor set to squash the sound quite heavily but with the mix control backed off to create a parallel compression effect, adding punch and controlling the tail end of the transients.
Audio Player








09.57 PM
I wish there was another way to pull projects other than Blend. They only allow you to pull is you publish with them. I have no desire to use the platform for that purpose
05.59 AM
Great break down. I agree with Jared, having other hosts would be great for those of us trying to limit programs and what we have to give them permission to do on our computer. Even having a folder we can download, 1 folder of unprocessed sounds and another of processed so we can work towards the reference would be great.
Also, and this would be HUGE, could you please start to to add a list of the plugins you used, along with why you chose that one, what they do (saturation tool, de-esser, etc. Dont have to explain what reverb is, just that the plug-in does that or whatever), the company that makes the plug in, cost, and then the BIGGEST thing….naming one or two other options that would work in place of your choice. While it stands to reason any saturation tool, echo, reverb, whatever would work in place of another they each have certain strengths and features or else you wouldn’t pick them for certain jobs and know what else you’d pick as a backup and why would be super helpful and informative. Thanks