In the latest Beat Dissected, we look at how detailed programming and hit placement can deliver a live-sounding hi-hat groove
Beat Dissected is a regular series in which we deconstruct drum patterns, showing you how to program them in any DAW. Just copy our grid in your own software to recreate the loop.
Here’s the beat we’re building today:
Spec
Tempo
115-125 bpmSwing
manual unquantisedSounds
Boss DR202Step 1
The easiest way of getting a live sounding hi-hat pattern is to use real hi-hat samples sourced from the same drum kit. But that’s too easy for us. We’re setting ourselves a challenge of using samples sourced from a drum machine, specifically the budget Boss DR-220.
Because the DR-220 only includes an open and closed hi-hat, we’ve done a few edits to the envelopes to expand the available sound palette and help them fit the planned groove better. After these envelope tweaks we’re left with an open hat (the DR-220 open hat sample), a closed hat (the DR-220 open hat sample tightened up and with a much reduced tail) and a mid/pedal-style hat (the DR-220 closed hat sample).
Step 2
The edited hi-hats are pulled into a Drum Rack and programmed into a simple disco pattern (from top to bottom the grid shows open, mid and closed hats), with mid hits on the off beat in classic disco style. A couple of closed hat 16ths add momentum to the pattern and an open hat pulls the groove into the turnaround. It’s an OK start but it feels stiff and lifeless.
Audio PlayerStep 3
Velocity changes help give the mid hats a more organic feel (darker shading indicates higher velocities). We’ve also nudged some of the hi-hats subtly off the grid to give the pattern extra liveliness.
Audio PlayerStep 4
The groove is starting to take shape. To add further life to the pattern we’re going to automate the attack time of the closed and mid hats. To do so we set up two automation lanes, one for each sample, and then change the attack of every hit by small but subtly different amounts. Doing so means no two hits are the same. It’s small tweaks like this that add the human factor and transform a straight-laced rhythm into a living groove.
Audio PlayerStep 5
To get a hi-hat groove sounding as close to a real-life hi-hat as possible we need to understand how the cymbals work.
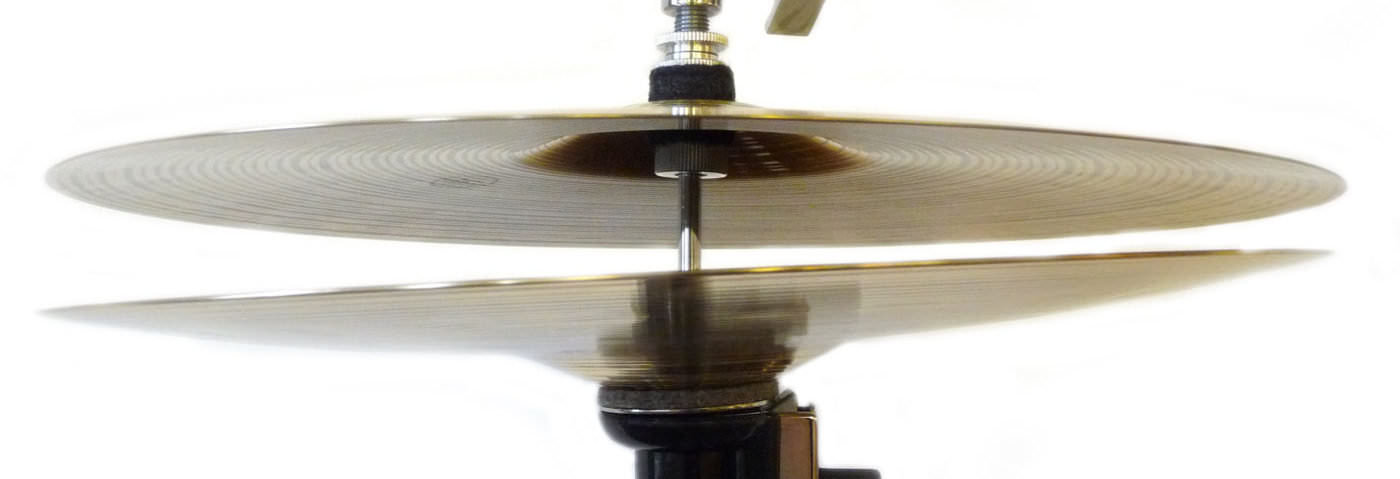
A hi-hat can play a range of sounds depending on whether it is struck by a drum stick or closed with the pedal, and whether the two hats are open or closed. This is why the General MIDI standard offers a closed, open and a mid or ‘pedal’ option.
Because in real life the hi-hat can’t be open and closed at the same time, a realistic programmed groove shouldn’t place any more than one hi-hat sample on the same measure.
Finally, there should be a way of cutting off the open hat whenever the cymbals are closed, reflecting the action of the drummer placing their foot on the pedal.
The latter two behaviours can be modelled in most samplers by using mute or choke groups. These are monophonic groups which favour the most recent sound – effectively muting or ‘choking’ existing sounds when a new one in the group comes along.
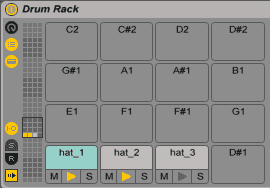
To create a choke group in Ableton’s Drum Rack, show the Chain List and assign all three hats to the same choke. Now the open hi-hat can be choked by both the closed and mid hat (and vice versa, if you program very fast patterns), reflecting the mechanics of a real drum kit.
Step 6
Hi-hats rarely need much in the way of effects. Because we’re looking to recreate a live groove we’ve added a touch of room reverb to mimic the sound of a drum kit played in a live room, alongside a halo of hall reverb to add a dash of depth. The reverbs are both taken from Live’s presets.
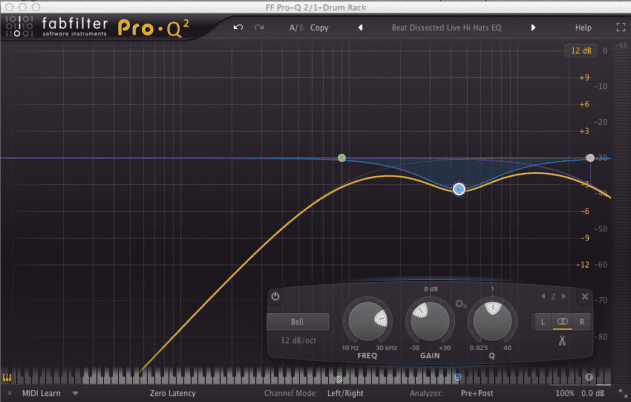
FabFilter’s Pro Q2 is used to roll away unnecessary low end – though don’t cut too low or you’ll lose some of the body. We’ve also tamed a bell of harshness in the 2–6 kHz region – an inherent characteristic of many classic drum machine hits.
Finally, we’ve added a light dusting of vinyl noise for an old-school vibe. Ableton also has a vinyl distortion plugin that would do the job.
Step 7
Here we’ve layered a guitar loop over our hi-hat pattern to show how it might work in the context of an old-school style disco production. The groove is sounding pretty good now – and fits nicely with the live guitar.
Audio Player


01.19 PM
Thank you !
10.21 PM
Yeah! live set can be donwloaded , great thing!
06.57 PM
Why are you guys using this Blend.io? it completely doesn’t want to work with my dropbox
07.32 PM
Downloaded the project from blend. i think the automation lanes are missing. or am i doing something wrong???
thanky
mig
08.41 AM
Hey – what is the deal with Blend?!
I had to log into Attack, then start a Bledn account and then link it to a Dropbox account?!
What is wrong with just having a straight download Link?
08.42 AM
BTW – I *still* can’t figure out how to DL it from Blend. I can see it in ‘My Projects’ – but there is no link to download.
Any help on this would be appreciated – thank you.
08.47 AM
Oh, so you have to go into Dropbox to do the download? I’m sure you have a really solid reason for using Blend over a simple download like, but for the time being, it just seems unnecessarily complex.
Pity, because the Beat Dissected series is really awesome, and and it would be great if the materials to follow along were instantly available, instead of having to jump through multiple hoops.
11.27 PM
Thanks! I would like to ask the question, how to controll / trigger the decay – time of the drum notes (e.g. hihat notes) via it´s own velocity values?