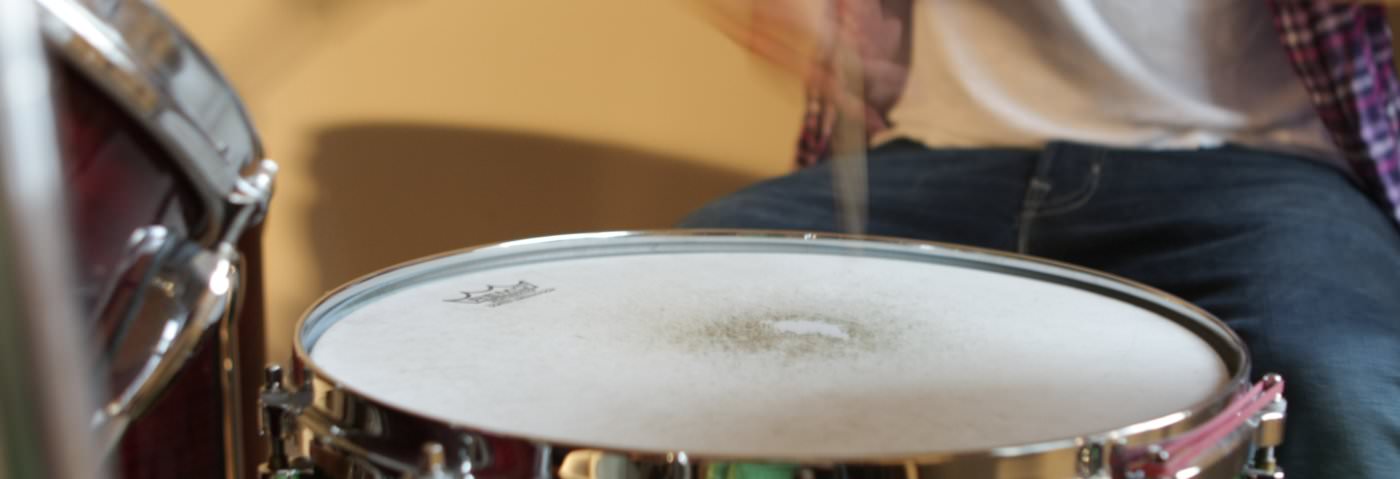
Our step-by-step drum programming series focuses on a loose acoustic groove with a distinct 70s flavour.
Beat Dissected is a regular series which deconstructs drum patterns, showing you how to program them in any DAW. Just copy the grids in your own software to recreate the loop.
Here’s the complete beat we’ll be making this week:
Audio Player
				Spec


				Tempo
				110-120bpm


				Swing
				50-60%


				Sounds
				Analogue hits + 80s drum machine samples
Step 1
Start by placing a kick drum on the first and third beat of each bar. Nu-disco beats can also use a four-on-the-floor kick pattern (either with equal volume kicks on each bar, or heavier ones on beat one and three) but this groove is a bit more laid-back. The beat uses acoustic drum samples throughout to mimic a classic 70s disco sound. For a more electronic twist on the same groove, try layering these with hits from vintage drum machines.
Step 2
Two different clap samples are layered with a single snare for a big snare/clap combo that hits on beats two and four of the bar. Note how all three hits have been slightly offset from each other (by different amounts each time) to give the beat a more organic feel. Although programming these kind of details can take a while, it’s worth it for a more natural, less rigid result. Velocity variations can also help here. A ghost snare hit plays towards the end of the second bar to add more interest
As far as processing goes, we’ve trodden lightly to preserve the inherent character of the original drum sounds. Aside from a little bus compression to glue the three different sounds, we’ve added a subtle – but noticeable – wash of reverb to them to help them gel and open up the beat. Spring reverb works especially well for an old-school feeling.
Audio PlayerStep 3
The beat comes alive with the addition of the hi-hat and a busy shaker pattern. The hat plays 8th notes using a nice rounded acoustic sample (nothing too sharp or piercing). The shaker is mixed fairly low to add a subtle groove without dominating the mix.
The key thing to note in both patterns here is the velocity programming, which helps to bring the groove alive (in the screengrab, darker shades of red indicate harder hits). Again, these velocity variations mimic the kind of dynamics you would expect from a drummer. Programming small changes in velocity throughout the drum arrangement can really bring a drum part alive – as well as maintaining the listener’s interest for long periods of time.
Audio PlayerStep 4
Finally, we add some ear candy in the form of a few strategically placed percussion samples. Here we’ve chosen a pitched-up bongo hit and a cowbell; experiment with the tunings so that both work with each other and the wider rhythmic elements. Again, small velocity variations are important here.
Gentle application of swing can help make the groove feel looser, but don’t go overboard or things can start to sound a little housey.
Audio Player


06.19 PM
Great tut! Keep up the good work and more Nu-Disco please!
07.46 PM
Great 🙂
09.21 PM
love it.
05.37 PM
Gyeaaaaaaaaaaaaah!!!! thanks
03.02 AM
Good one! thanks
07.54 PM
Thanks for this tutorial.
03.11 PM
reallly nice
06.38 AM
more like this !! plz
08.12 PM
Niceeeeeee kit
11.39 AM
where are the samples?