In this month’s Passing Notes we spread chord voicings across multiple synths and string instruments to create a wide multi-voice progression.
Last month’s Passing Notes contained lessons from orchestral composition that we can apply to modern synthesizers. One of the techniques we covered was using large ensemble chords.
An ensemble chord is when different instruments play different notes that when combined make a chord. The effect is one bigger sounding, massive, voicing with various textures. In an orchestra for example, this could be a double bass playing the low root note while the cello plays a note an octave higher and three violins play different notes, thus completing a five-note chord.
How would that work In a production context? It’s typical for producers to keep their chords on one instrument/synth. Occasionally a producer might use multiple layered instruments but play the same exact chord. I.E duplicating the channel and MIDI and then assigning a different sound and playing them back together. It can work but it’s a little bit basic.
What we are looking at it is different. How about splitting a chord progression across multiple instruments? Sure, the CPU might take a battering if it’s five instances of Ominsphere but it doesn’t have to be! You’ll find that even using native plug-ins you’ll find the results can really push your music into a whole new dimension. You can even take it further by using panning or adding effects. And most important of all, this is one great way to create that holy grail for any music producer which is ‘their unique sound’.
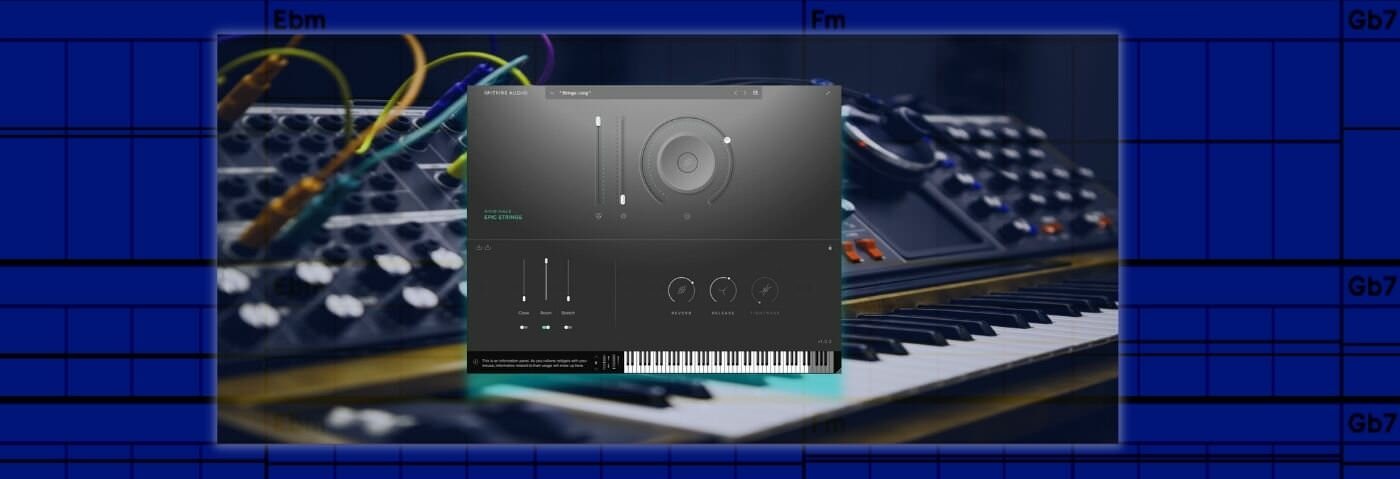
In this article, we’re going to use a four-chord progression. We’ve provided the chord voicings below. We’ve used large chord shapes with six or seven notes in each chord. We’ve purposefully spread the voicing across multiple octaves. This gives us more options while arranging the notes across different instruments.
Here’s what we’re making today:
Here’s our chord progression with some house-style drums for context:
The Chord Progression
Below are the four chords in our progression. We have added the intervals in parentheses:
Chord 1: A# Minor 7 (11) (add9)
A#0 – A#1 (Octave) – F2 (5th) – C3 (9th) – C#3 (Minor 3rd) – D#3 (11th) – F3 (5th) – G#3 (Minor 7th)
Chord 2: D# Minor 7 (11)
D#0 – D#1 (Octave) – A#1 (5th) – D#2 (Octave) – G#2 (11th) – C#3 (Minor 7th) – F#3 (Minor 3rd)
Chord 3: F Minor 7
F0 – F1 (Octave) – F2 (Octave) – G#2 (Minor 3rd) – D#3 (Minor 7th) – C4 (5th)
Chord 4: E Major 7 / F#
F#0 – F#1 (Octave) – F#2 (Octave) – E3 (Minor 7th) – G#3 (9th) – B3 (11th) – D#4 (13th)
Part 1: Using Ensemble Plugins Such As Spitfire Epic Strings
IOrchestral ensemble plugins automatically assign notes on different octaves to different instruments. Ensemble plugins provide the full range of instruments across your piano roll. In theory therefore, they are perfect for demonstrating the technique we want to apply in dance music.
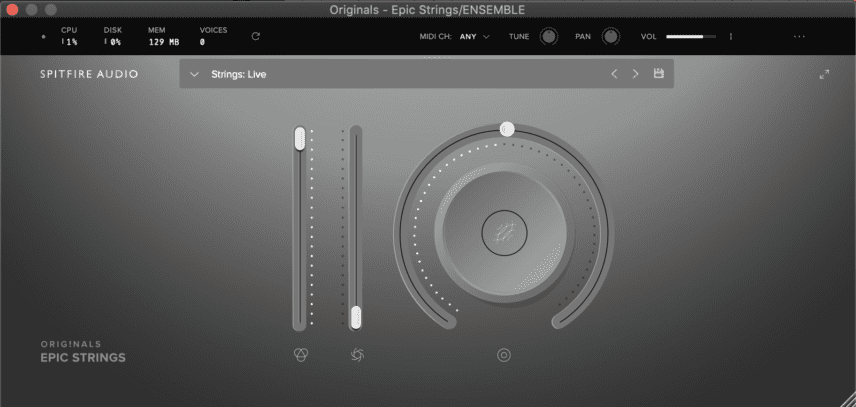
We’ll demo these chords using Spitfire Audio’s Originals Epic Strings.
Here’s how the progression sounds:
Layering Ensemble Presets?
It’s worth mentioning that you can always layer ensemble chords with other ensemble-style libraries. It’s a quick way to almost certain epicness.
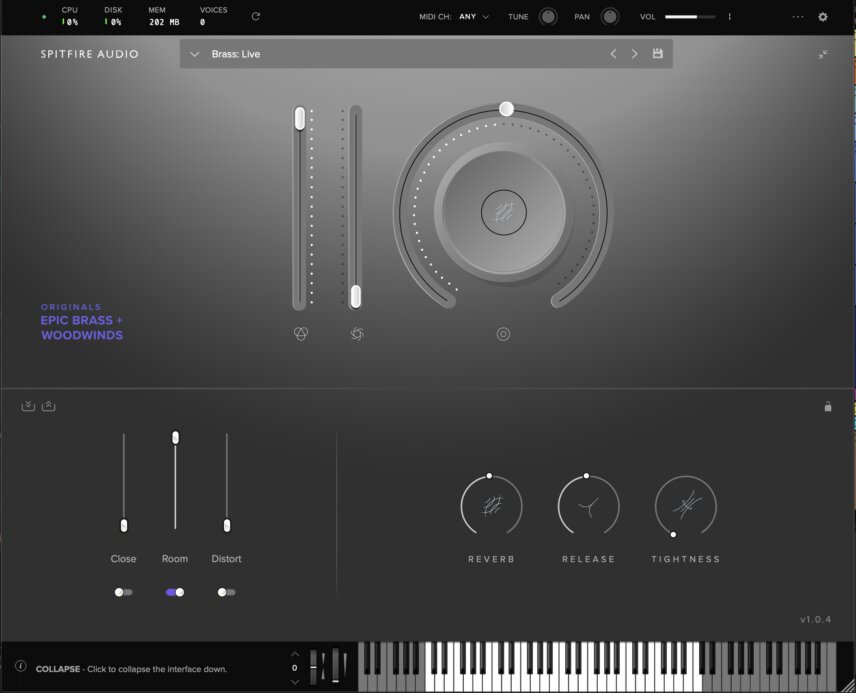
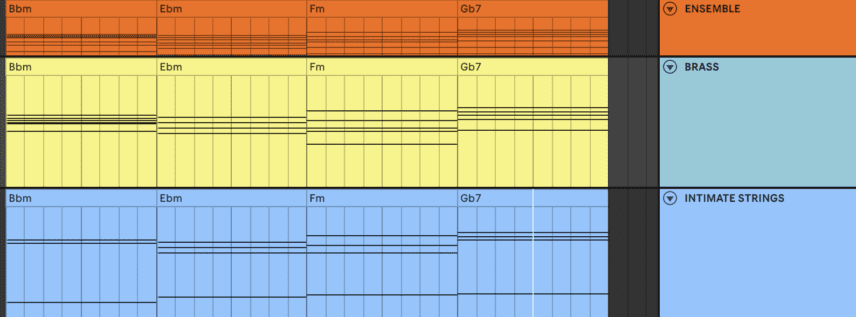
In the following example, we layer our example before with Spitfire Audio’s Originals Intimate Strings and Originals Epic Brass & Woodwinds instruments. N.B We’ve not added notes, we’ve just layered and edited the sounds.
For the brass, we chose the highest four or five notes in each chord and muted the lower notes.
Here’s how the brass sounds in solo:
For the new strings, we kept the lowest bass note and the highest three or four notes in the voicing.
Here are the new strings in solo:
All three ensemble plug-ins playing together:
Part 2: Spreading Voicings Across Synths
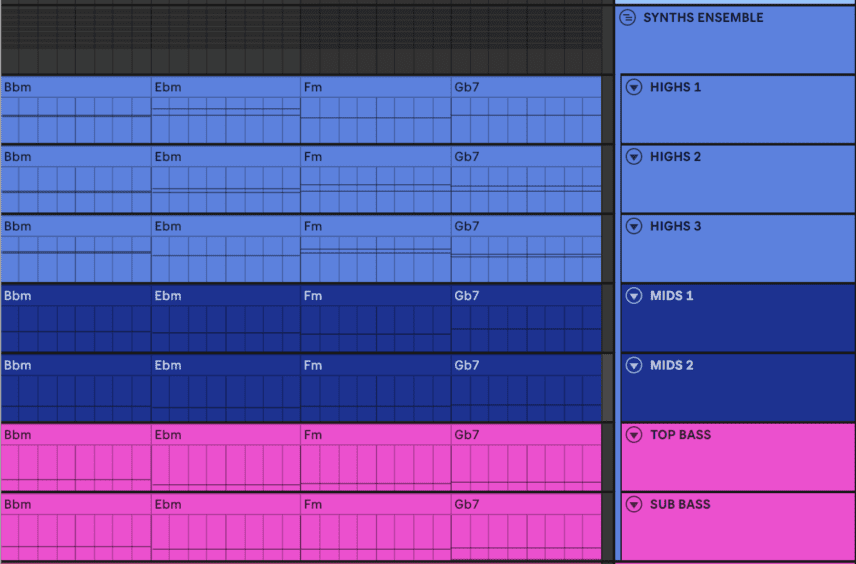
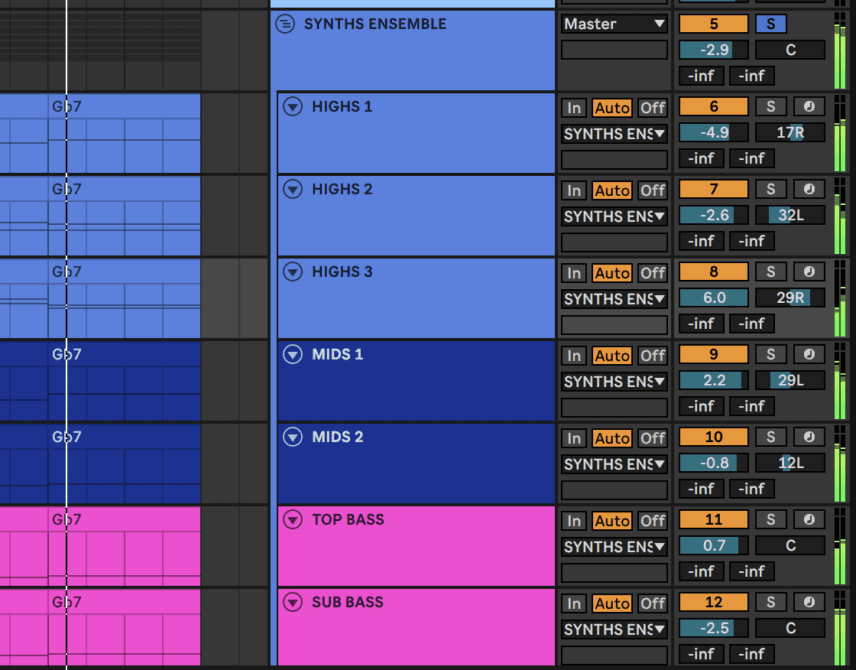
We’re using a total of seven instruments in our ‘synth orchestra’.
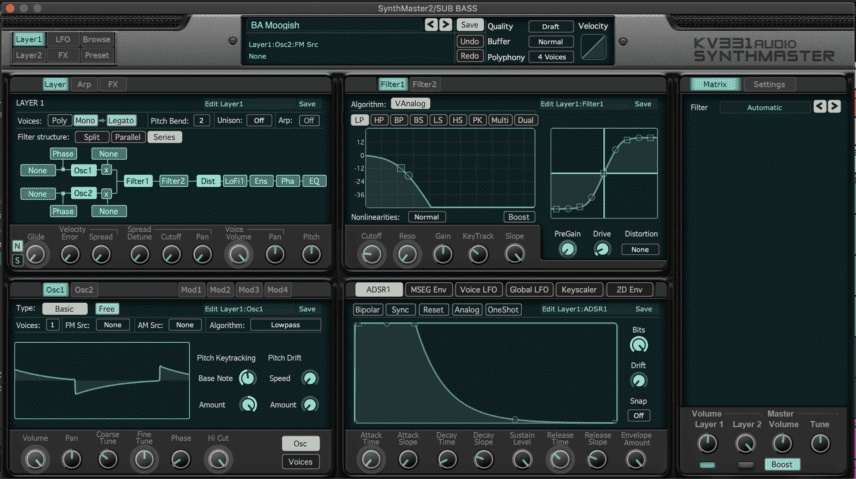
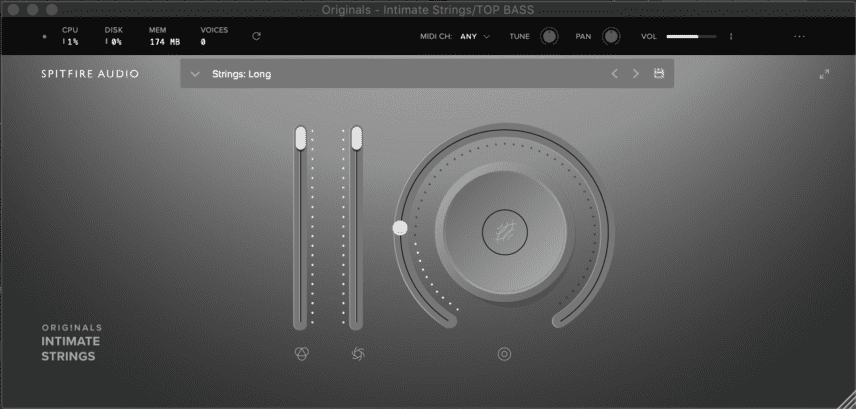
The sub bass is provided by KV331’s Synthmaster 2’s ‘BA Moogish’ preset. For the upper bass, we’re using the cello from Spitfire Audio’s Original Intimate Strings.
Here’s how the progression sounds with the two bass instruments on solo:
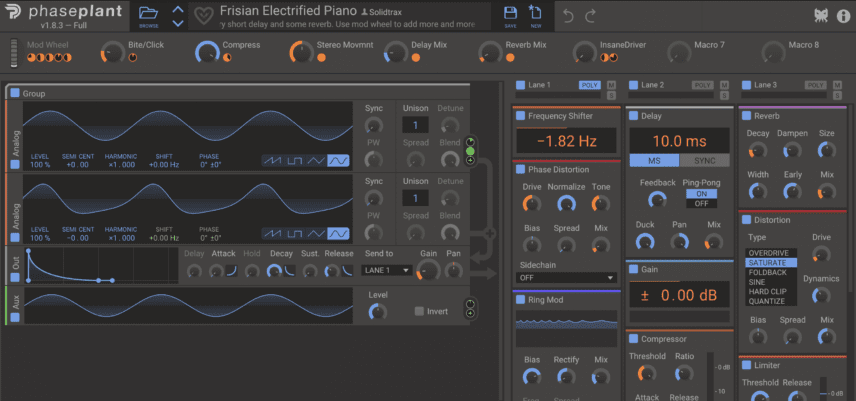
For the two mid-range instruments we’re using two presets from Kilohearts Phase Plant called ‘Frisian Electrified Piano’ and ‘Fluteophone’.
Here they are in solo:
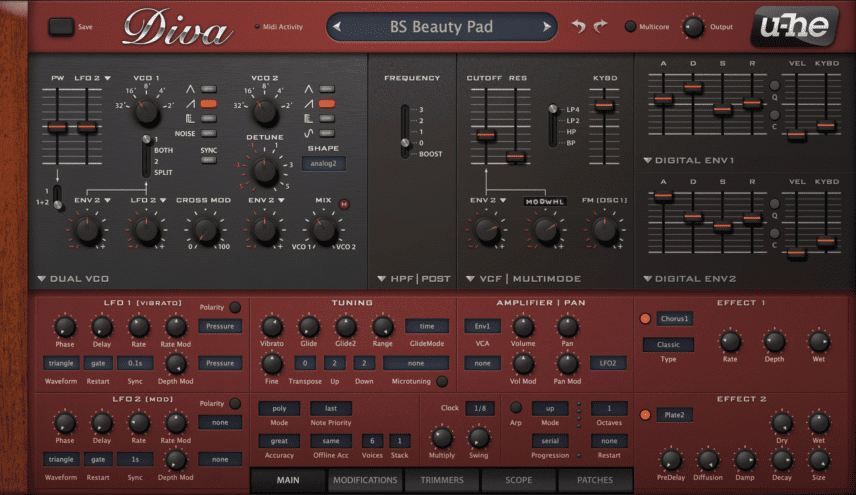
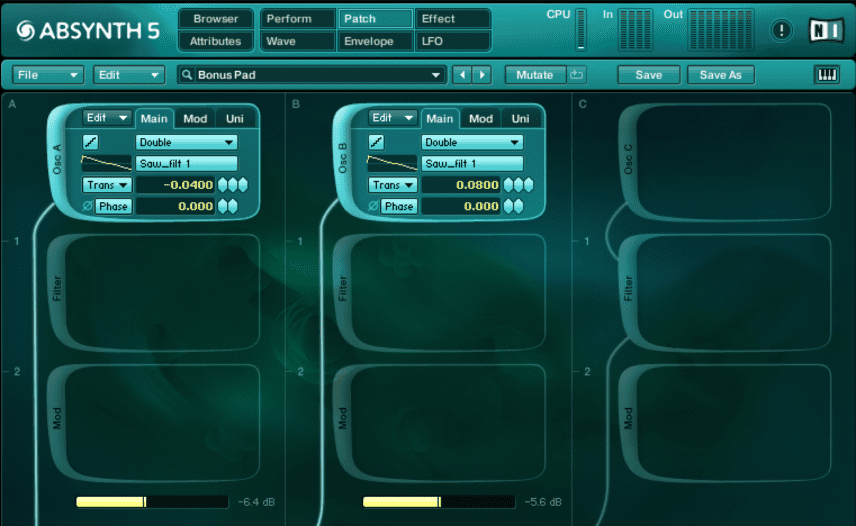
For the three upper-octave instruments we’re again using the Intimate Strings library with Native Instruments Absynth 5’s ‘Bonus Pad’ preset and u-he Diva’s ‘BS Beauty Pad’ preset.
Here they are in solo:
You can hear that each of the three ranges are telling their own musical and melodic stories while moving through the four chords.
Here’s how they sound together:
The concept in distributing the notes is quite straightforward.
The lowest two notes are playing octaves. It’s played by both the sub-bass and the cello.
The third and fourth notes in the chord are then distributed between either of the two mid-range instruments.
For the highest notes, we haven’t always put them in the same order while spreading them across the three upper-range instruments. It’s good practice to change things around and not keep the notes in the exact same order so that the individual melodies tell their own different stories.
It’s also worth remembering that some synth presets will modulate the pitch up and down by octaves. For example, bass presets tend to be tuned lower, so if you’re pressing a C2 note you will probably get a C1 or even C0. You can compensate for this by moving notes up and down octaves in the piano roll or changing the synth preset’s pitch settings.
Using Panning
Lastly, you can pan all of the mid-range and high-range elements to widen the chord. This also technically imitates orchestral ensembles where recordings reflect their musician’s physical position within the group or recording stage.
Here’s our progression with the panning applied:
Here’s our chord progression with some house-style drums for context:
If you like this article you might enjoy our book The Secrets of Dance Music Production available now.
