Parallel processing is a handy mixing technique for adding interest and character without overwhelming the mix. In this tutorial, we’ll show you how to use it on a drum buss with compression, EQ, distortion, and an effects chain, and how to automate it to create tension in a breakdown.
Parallel processing is an indispensable mixing technique that all producers should be familiar with. At its most basic level, parallel processing is simply the act of blending an affected signal with an original, dry one. This is usually done using a send effect in your DAW’s mixer. With an insert effect, the entirety of the signal is processed; with a send (parallel) effect, you control how much signal is affected by adjusting the send amount.
So far so good, but what’s special about parallel processing then? To understand this, let’s look at how parallel compression—the most common application for parallel processing—works. Sometimes called New York compression, parallel compression is a technique whereby an extremely squashed signal is blended with an uncompressed source. On its own, the compressed signal may sound harsh and unusable but when combined with the original a kind of sonic magic happens. You get the excitement of the compressed signal plus the dynamics of the original.
Parallel processing is not limited to compression, however, and in this tutorial, we’re going to show you how to use the same technique with EQ, distortion, and a wild effects chain. We’ll be using Waves’ free StudioRack plugin chainer to generate our parallel effects. A plugin like this is not absolutely necessary but it can be convenient, especially when it comes to automating numerous parameters at the same time, as we’ll see later. If you wish to replicate these processes without it, you can create send effects using the standard auxiliary channels in your DAW.
As always, click on any image to see a larger version.
We’ll show you how to go from a dry drum buss beat like this:
To full on parallel madness like this:
Technique 1
Parallel Compression
We’ve made a beat using Logic Drummer and Native Instruments Maschine 2 and then bounced it down and imported it into Ableton Live. There’s some compression on the original elements but nothing to “glue” the mix together. Let’s use parallel compression to give the percussion sounds a sense of unity while still maintaining dynamics.
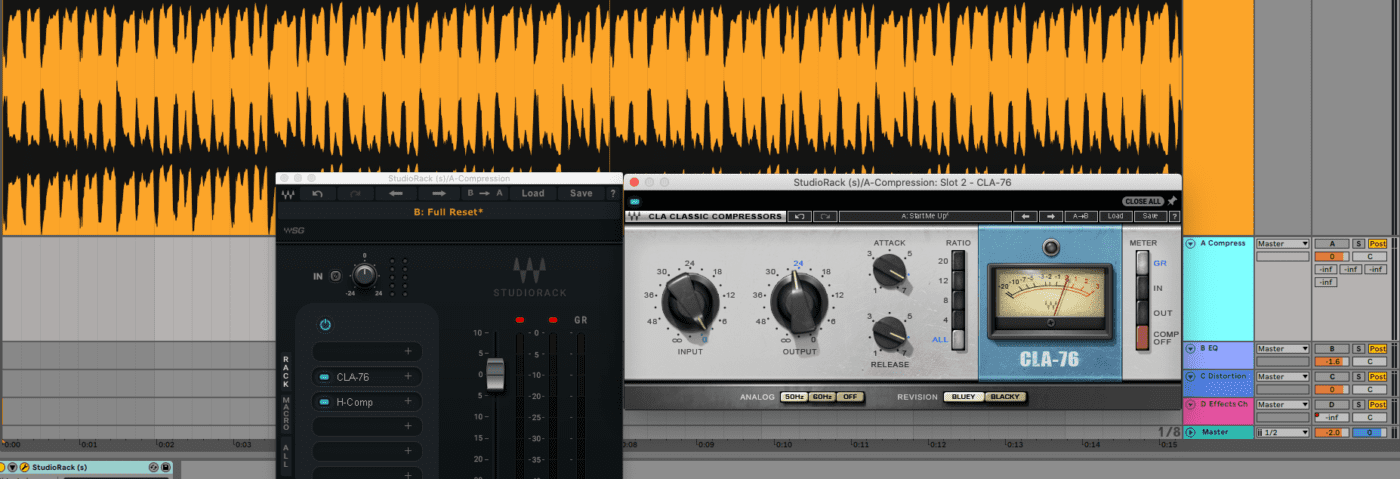
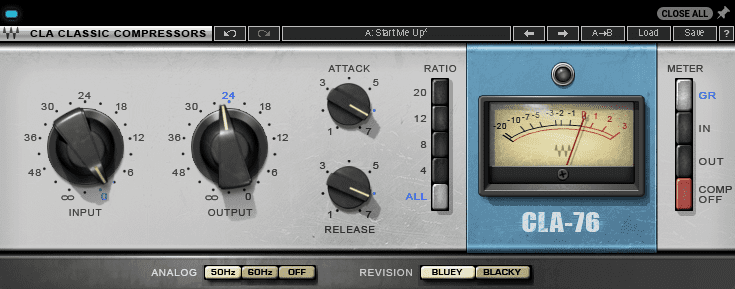
Using StudioRack, we load in Waves’s CLA-76, an emulation of the Urei 1176 FET compressor, famous for its aggressive sound. We want to really smash it, so we hit that All ratio button, which nukes the signal. The amount of compression on the CLA-76 is controlled by the input amount, so we push it hard, easing back on the output to keep the signal from overloading. We go with fast attack and release settings as befitting a drum buss and choose the less-used Bluey version, as it sounds a little more extreme.
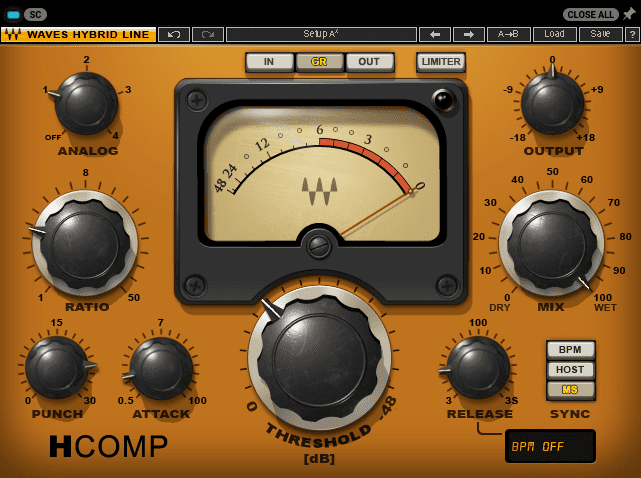
All that pressure is really obliterating the signal, which we want, but it would be nice to put some punch into it too. We load Waves H-Comp next in StudioRack and turn up the Punch dial, which highlights our transients. We don’t need to squash the signal much further so we go with fairly tame compression settings. When blended together, we get a drum sound that is unified and hyped but not overly so.
The clean drum buss.
Here’s the compressed signal at 100% wet.
And here it is around 40%. Note that we’re being heavy-handed with the parallel compression for illustrative purposes. Use your ears when making your own adjustments.
Technique 2
Parallel EQ
EQ might not be the most obvious candidate for parallel processing. Don’t you usually just whack it across a channel and be done with it? Yes, absolutely, but parallel EQing has its benefits too, especially when working with emulations of classic gear that don’t have wet/dry knobs.
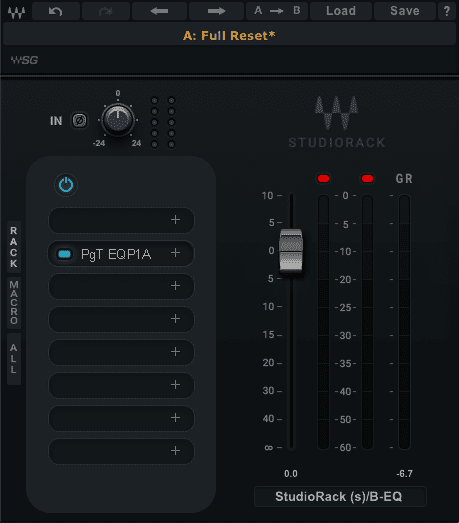
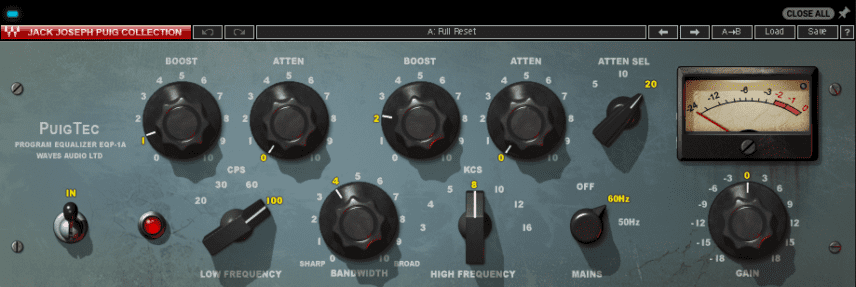
For this technique, we’re using the Waves PuigTec EQP-1A, a recreation of the classic Pultec model. The PuigTec (like the original) doesn’t have a way to control the balance of wet and dry, so we’re going to use it as a parallel effect loaded into StudioRack.
The PuigTec EQP-1A has a lovely, vintage sound. Let’s use it to add some warmth to our beat. We give our low frequencies a little boost at 100 Hz, and our highs a lift at 8 kHz. We don’t need to do much, as the circuits inherent in the unit itself will massage pleasant harmonics into our drums. Although these are relatively tame settings, the effect they have on the drums is substantial.
The clean drum buss.
The drums with parallel EQ at 100%.
And with the send knob at around 40%. It’s a subtle effect admittedly but in the context of a mix it could be just what the track needs.
Technique 3
Parallel Distortion
Distortion as an effect can sound fantastic—when used judiciously. Overdo it and it can become harsh and crush dynamics. Let’s see how using a chain of distortion plugins in parallel to our original signal can boost harmonics and add excitement without obliterating our drums.
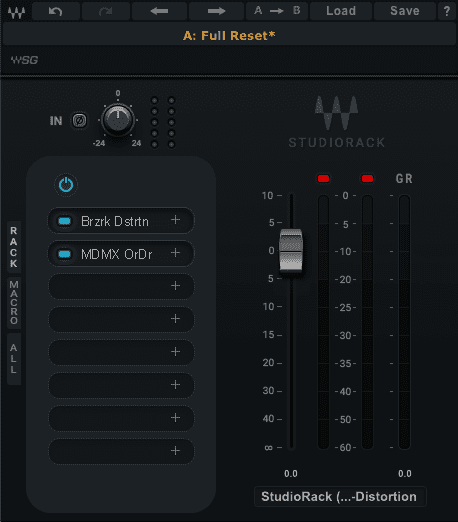
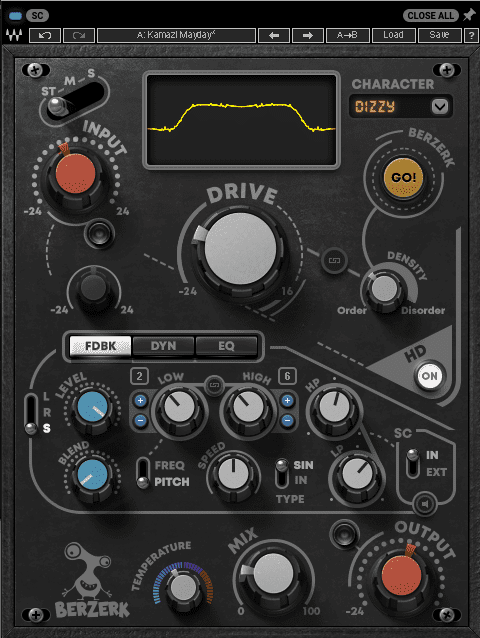
We start with StudioRack and add an instance of Waves Berzerk, a creative and rather wild distortion unit. We start with the Kamazi Mayday preset. That’s sounding pretty nasty and blown out already. We plan to use a second distortion plugin in series as well so we turn down the drive and mix settings, and crank up the Temperature knob to add saturation.
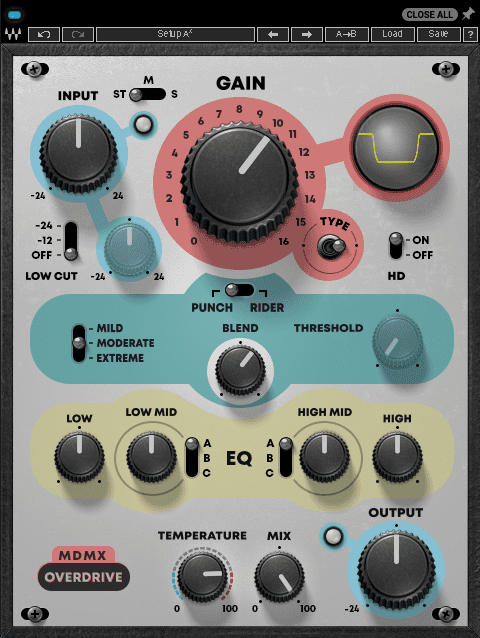
Next, we load Waves’ MDMX Overdrive into StudioRack. We’re after something that will interact well with Berzerk. Turning up the Gain and Temperature knobs yields good results. It sounds even better when we change the shape of the distortion to a square. We turn up the blend on the Punch circuit and switch it into HD mode. Filthy.
The clean drum buss.
The drums with parallel distortion at 100%.
And with the send knob at around 40%.
Technique 4
Parallel Effect Chain With Automation
Parallel processing can come in handy when you’re working with effects chains. Let’s see how we can use macros in StudioRack to automate a parallel effect to create tension in a breakdown.
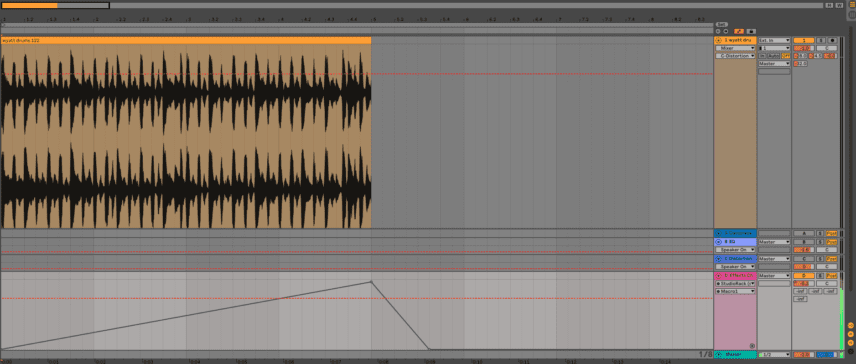
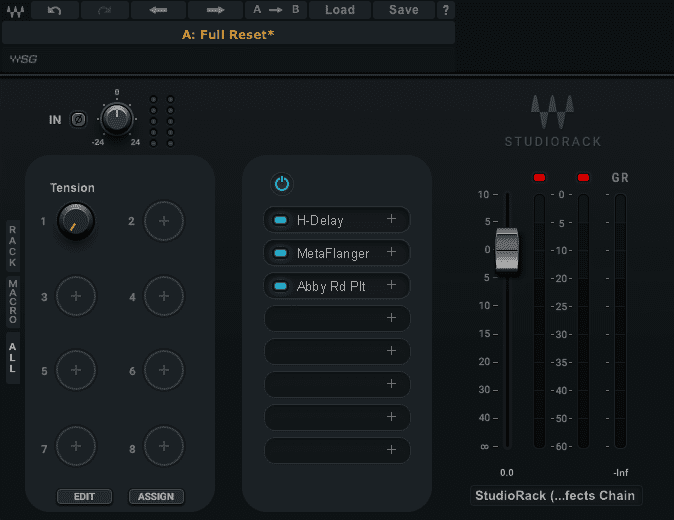
We want to create a huge wall of swirling delay that grows and takes over the beat, only to quickly disappear when we reach the drop. We load StudioRack onto a send channel from our drum buss and slot in Waves’ H-Delay, MetaFlanger, and Abbey Road Reverb Plates, in that order.
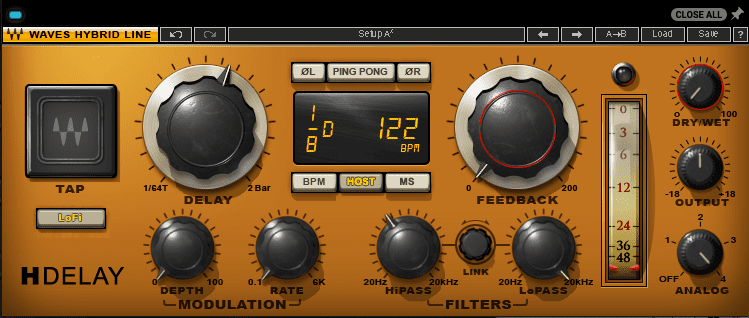
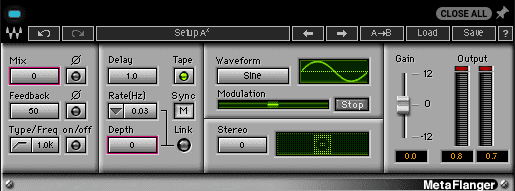
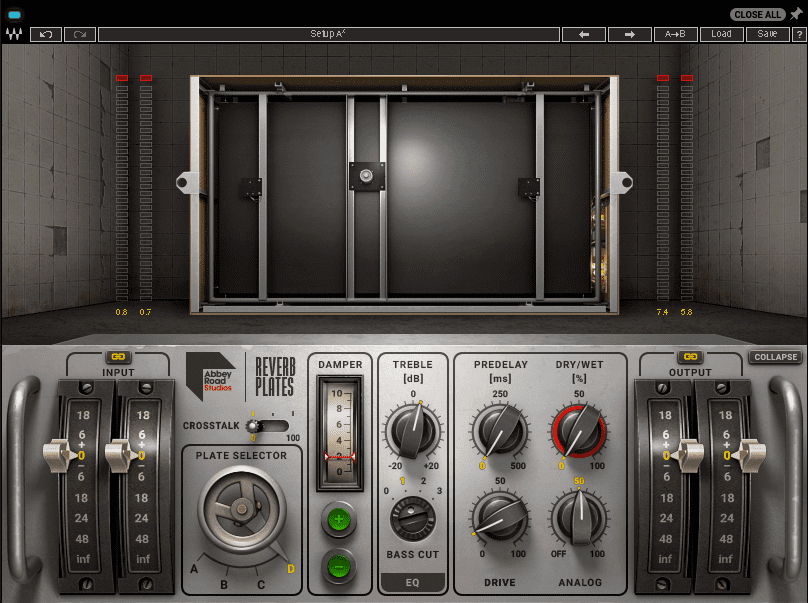
We set H-Delay to echo in dotted 1/8 time on the beat and use the highpass to filter out the lows to keep the kicks from sounding like a stampede of horses. Next, we set up MetaFlanger to create a deep, slow, through-zero flange. Lastly, we choose plate D in Abbey Roads Reverb Plate and cut the bass every so slightly. With this many plugins, things could have a tendency to get messy fast, so let’s see what we can do to tame the chaos.
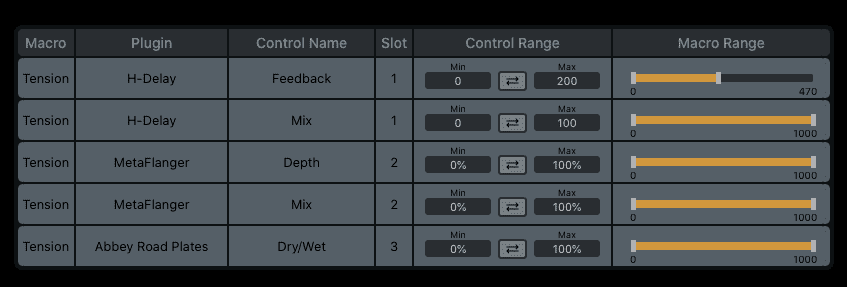
Let’s use a macro in StudioRack to automate our effect so it grows over time. From H-Delay, we link Mix and Feedback to Macro 1. Delay feedback has a tendency to get unruly so we use the editor page to cap the feedback off at 470, or about 50%. Next, we assign MetaFlanger effect Depth and Mix amount to the same macro, as well as the dry/wet amount from Abbey Road Reverb Plate. Lastly, we rename the macro, Tension. By automating it in our send effect lane, we can control how it rises over time.
The clean drum buss.
The drums with parallel effect at 100%.
And with the send knob at around 40%.
