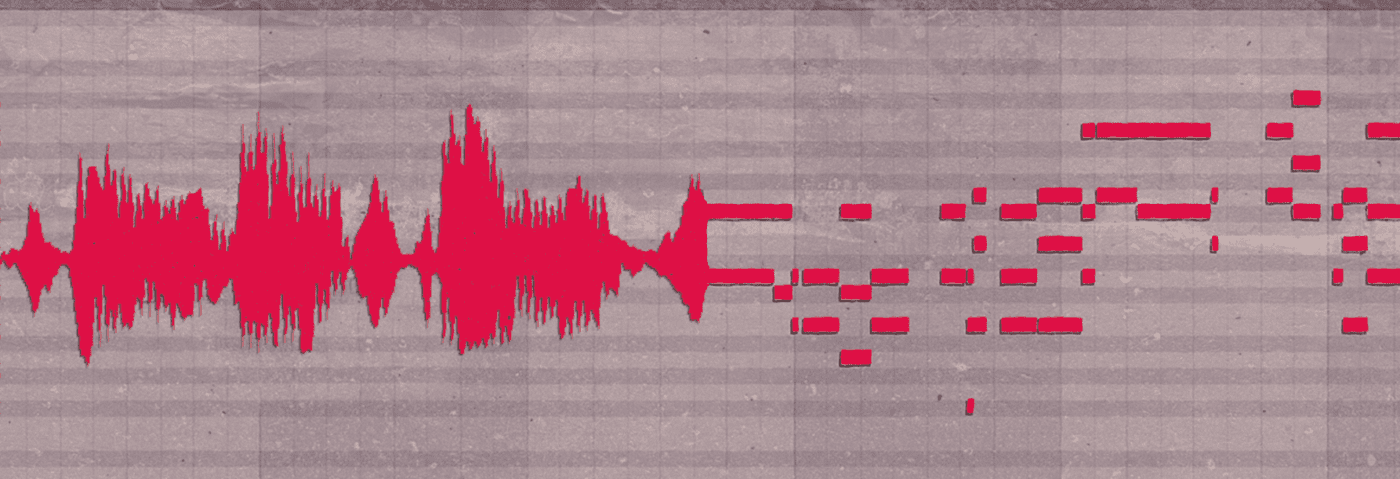
We show you how to create useful MIDI harmonies based solely on an audio sample.
Unless you have a strong understanding of music theory, it can be a hit or miss process to create supporting chords and bass for a vocal. The easiest method is to start the other way around: write a melody and then have someone sing over it. If, however, you’re starting with an inspiring vocal sample and want to build a song around it, it might be tough to come up with something useful quickly.
Thankfully, there are tools to help us out. Vielklang 2 by Zplane was designed primarily as a vocal-correction tool like Autotune, but it can also generate MIDI information from the source audio. We’ll use this as inspiration to help us create chords and a bassline. As always, click on any image to see a larger version.
We’ll go from this vocal sample:
To this ambient breaks track:
Step 1
We start by creating a new MIDI channel in our DAW and adding Zplane’s Vielklang 2 to it. We’re using Ableton Live but any DAW is fine. Next, we drop a vocal sample onto the plugin display. We’re using ‘VOX_MVP_124_vocal_hook_dry_close_my_eyes_Bm.wav’ from Splice’s Breaking Sound X MOONZz Vocal Pack.
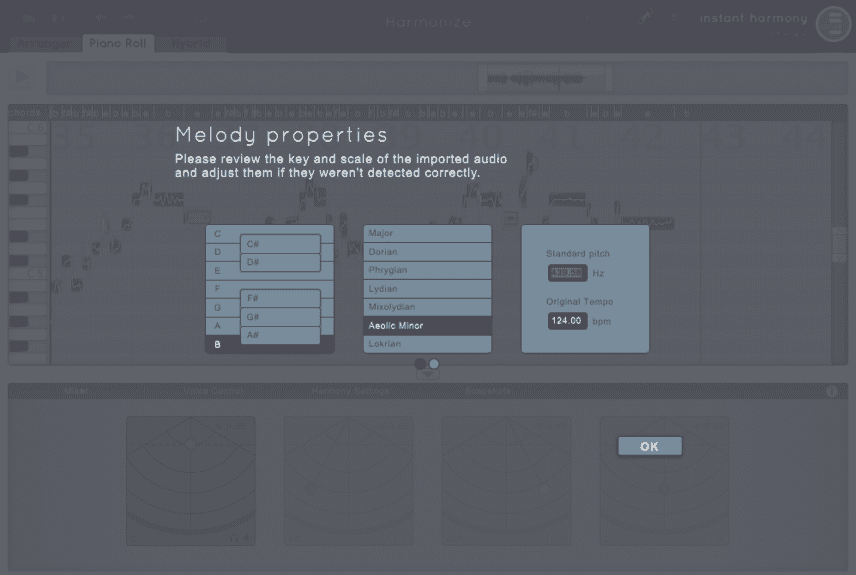
Vielklang 2 then asks us to confirm that the detected key is correct. We know from the Splice site that it’s in B minor, so we click OK. If you want the sample to conform to a different key, you can change it here.
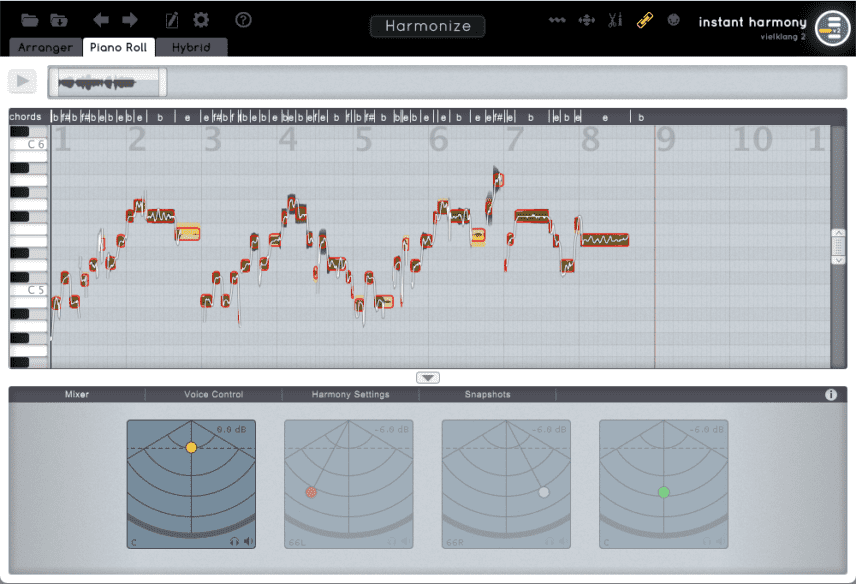
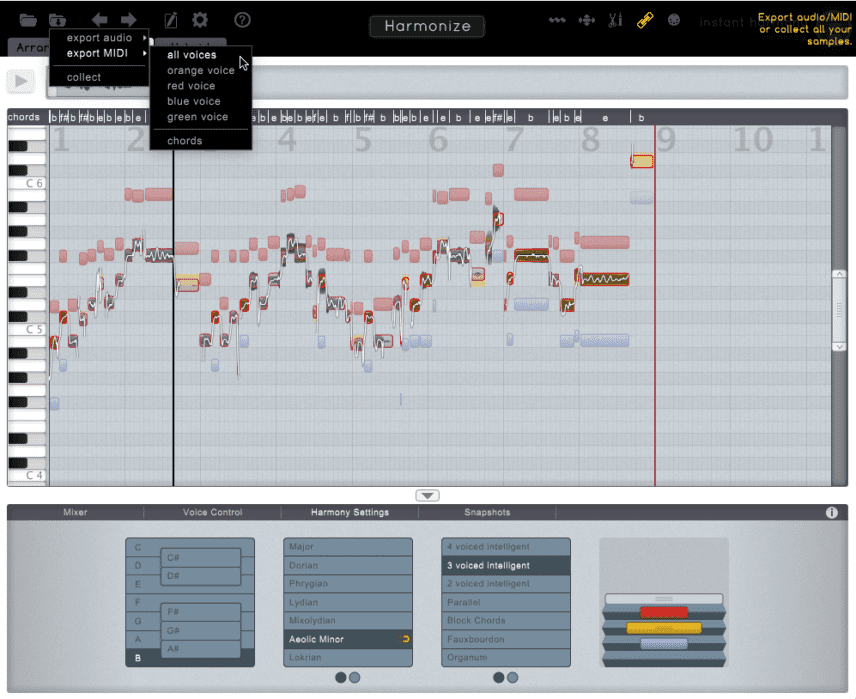
Now we’re on the main screen. We click on the big Harmonize button at the top. This auto-generates a three-part harmony (or whatever kind you choose) based on the original audio.
Here’s what it sounds like:
Step 2
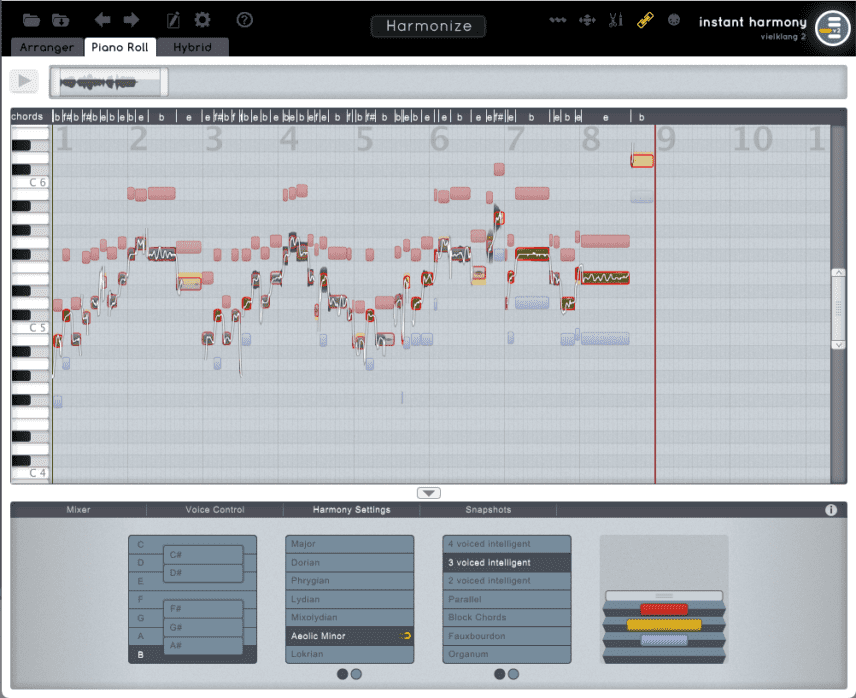
The harmonizations sound nice but we’d like something a little tighter. We turn our attention to the accordion-like box in the lower right corner. By squeezing it together, we can get harmonies that are closer to the original notes.
Here are our closer harmonies. We like this a lot better:
Step 3
Vielklang 2 offers a number of controls for adjusting the volume and pan of each harmony but as we’re going to export this all to MIDI, we can ignore this. Instead, we click on the folder with the down arrow on it in the upper left corner. This allows us to export the harmonies as MIDI data. Under Export MIDI, we choose All Voices and export a MIDI file.
We won’t be using Vielklang 2 any more so we close the plugin and mute the channel.
Top Tip: Vielklang 2 can also export each harmony voice individually, or turn the whole thing into chords.
Step 4
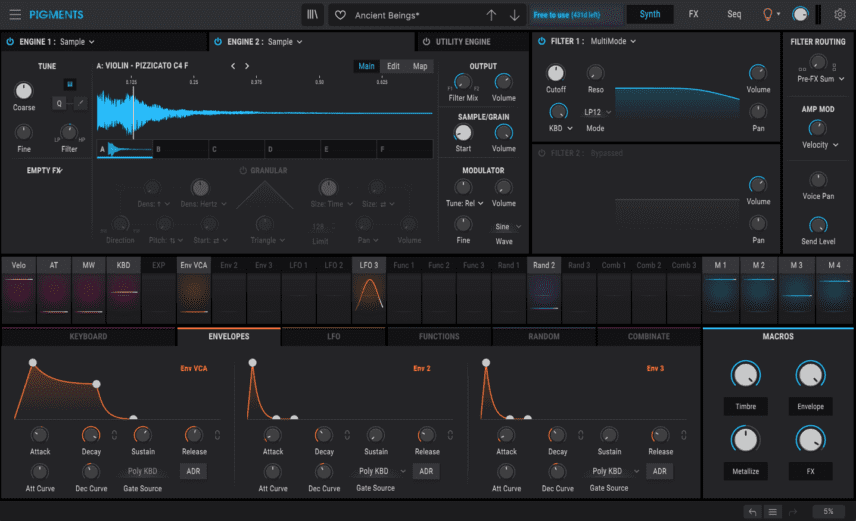
Next, we create a new MIDI channel, drop the exported MIDI file onto it, and open Arturia Pigments 3. We want a nice, ambient pad sound, so we start with the Ancient Beings preset. We’d like it to be a little longer so we stretch out the envelope and make a few other adjustments.
Step 5
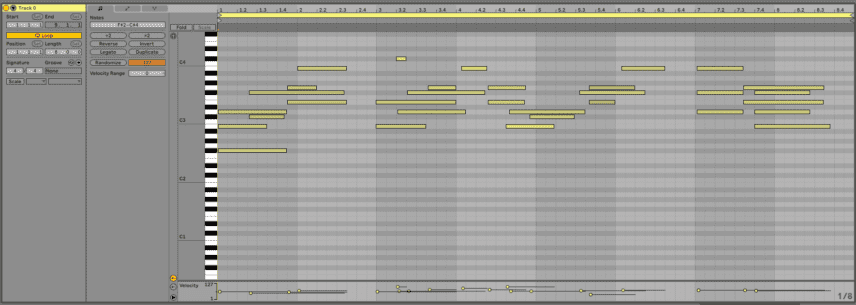
Vielklang 2 generated MIDI notes based on the vocals so they’re predictably short and kind of all over the place. Accordingly, the next step is to edit the notes into chords. While listening to the original audio file, we work on the notes, shaping them into an organic and melodic audio bed.
Here’s the Pigments pad on its own:
And with the vocal sample:
Step 6
Things are coming along very nicely. Let’s use the generated MIDI data to make a bassline now.
As we’re going for an ambient breaks feel, we grab the Ballistic Boom sample from within Ableton Live. We then option-drag the edited MIDI notes from the Pigments channel down to the bass track.
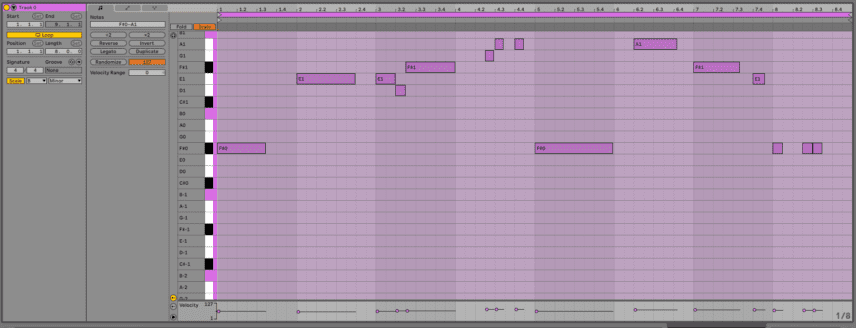
Of course, right now it’s chords and that’s not what we want. First, we lower the notes two octaves so we get a bassy sound. Next, we start editing, using the existing notes to help guide us. To make sure we don’t get any bum notes in there, we set the Scale to B minor and click the Scale button, which restricts the available notes to those within the key.
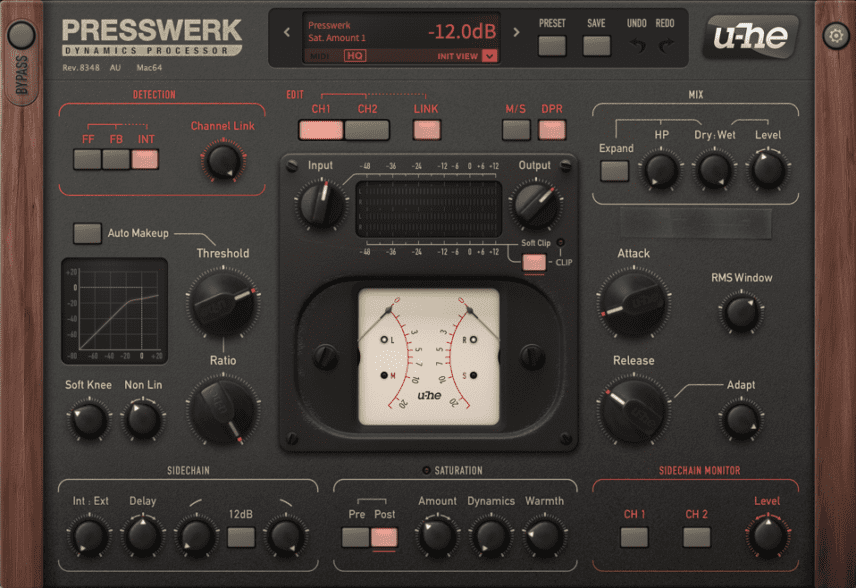
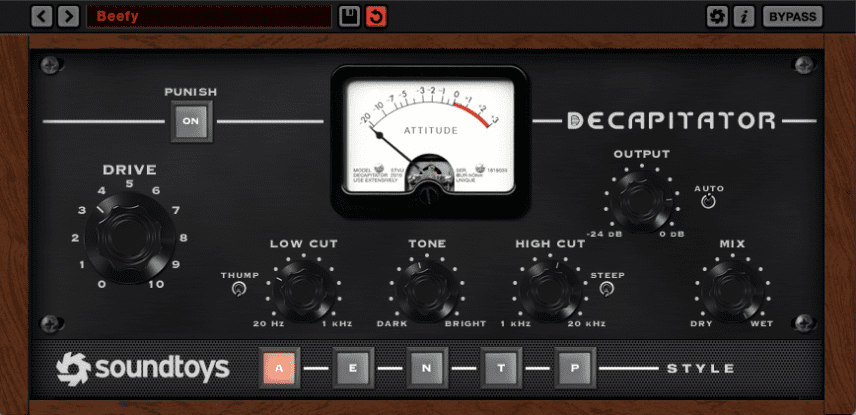
Here is the new bassline with u-he Presswerk and Soundtoys Decapitator to beef it up:
And now with the vocal and pads.
Finally, we can bring in some reverb, effects, and chopped breaks (‘TRAVIS_BARKER_drum_loop_break_15_90.wav’ and ‘Amen03_Break_174_PL.wav’, both from Splice).
Here is our finished ambient breaks track.
