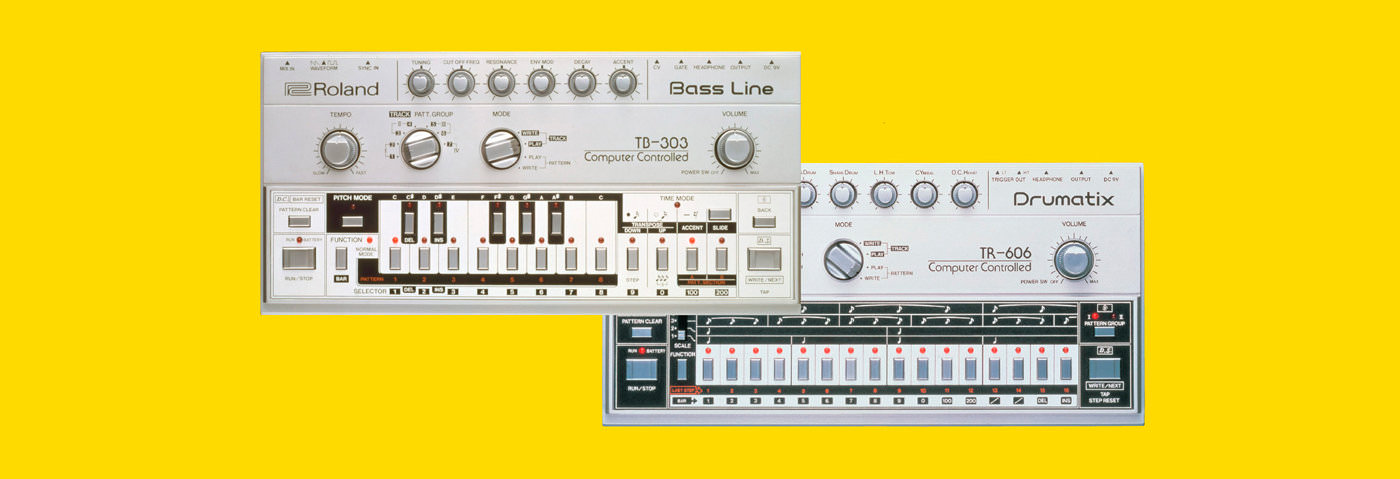
We show you how to make an Acid House bassline squeal using AudioRealism’s ABL2 – a Roland TB-303 clone.
A Brief History
The iconic Roland TB-303, often shortened to the “303”, has an interesting history. Originally, it was designed to emulate the sound of an electric bass guitar and targeted at musicians looking for a digital accompanist. Many find this incredulous, as its squelchy tone and short looping arpeggios, do not even vaguely resemble a real bass guitar! The result was that consumers displayed little interest in this bass player in a box and the TB-303 was a commercial failure. It was discontinued in 1984 just three years after its release.
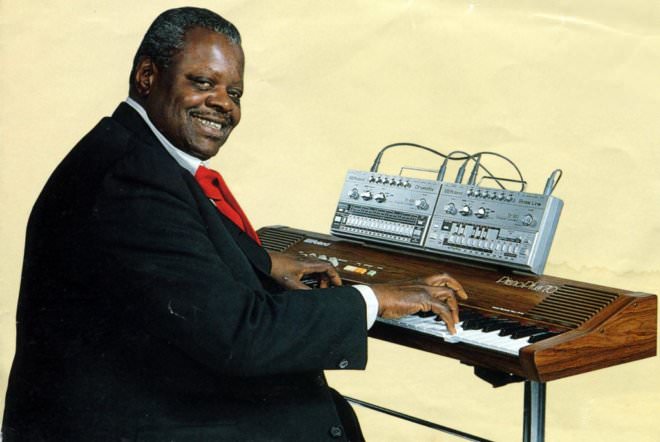
However, the instrument had a second life when a group of electronic musicians from Chicago known as Phuture picked up a cheap TB-303 and explored its full liquid potential. After playing around with the unit for a few years, many attribute their release “Acid Trax” in 1987 as the first Acid House release.
However, for many Acid had already been debuted several years prior, when Indian musician Charanjit Singh recognised the instrument’s untapped and unintended potential to create liquid basslines. His album Ten Ragas to a Disco Beat was the result of various experimentations with the unit and is now widely recognised as possibly the first album featuring Acid basslines.
Unfortunately, “Ten Ragas to a Disco Beat” had only a minor impact on the development of electronic music at the time and it was when Phuture’s “Acid Trax“ was released in 1987 that the worldwide spread of Acid House took hold.
In this tutorial we’re going to show how to make an Acid House bassline using the AudioRealism ABL2 a popular TB-303 emulation.
Step 1: Pattern
Here’s what we’re building today. To follow along set the tempo to 129bpm.
You can closely replicate this tutorial using any DAW or plugin. All you’ll need is a TB-303 clone.
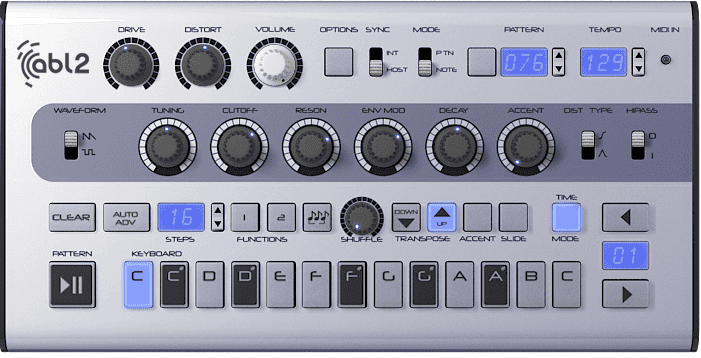
To begin with, switch MODE to NOTE. This allows us to create our own midi pattern in Live’s piano roll where each midi note triggers one note as opposed to PATTERN where every midi note will trigger a pre-programmed factory pattern in the ABL.
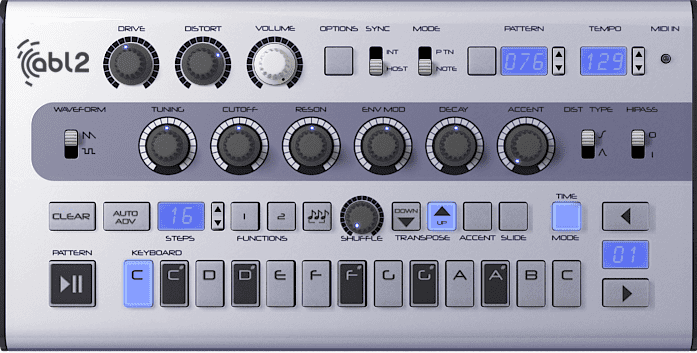
Like the original TB-303, the ABL2 has a single oscillator with either a sawtooth or square wave. The sawtooth has a thinner and more aggressive tone in comparison to the more full bodied square wave, so we will use the sawtooth for this patch. We’ve kept things simple yet effective with the below pattern and the neutral/factory settings on the ABL.
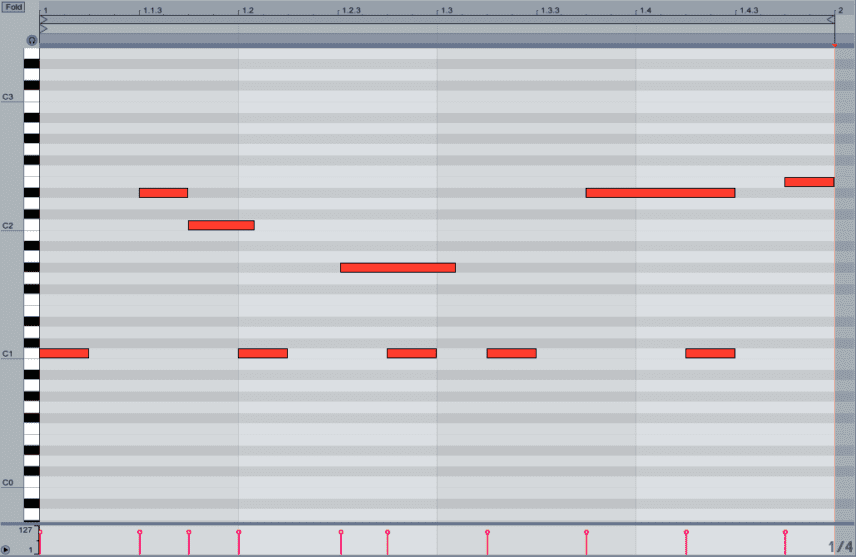
At this point, the bassline sounds flat and dull. To inject some much needed life, we’re going to play around with the ABL2 settings prior to any external processing.
Top Tip: Take a screen-shot of your initial setting, as you are likely to heavily tweak this patch. This way you can always return to your starting point!
To do so, we’ve increased the DISTORT, CUTOFF, RESON and ENV MOD by turning them all clockwise to taste.
Step 2: Filter Modulation
The TB-303 has only a few parameters to play around with, but by modulating them you can create a large variety of sounds with signifiant movement into an otherwise lifeless sequence.
This is preferably done hands-on in real time by playing the sequence, either from the actual machine or from within Live, and afterwards adjusting the parameters for the desired effect. .
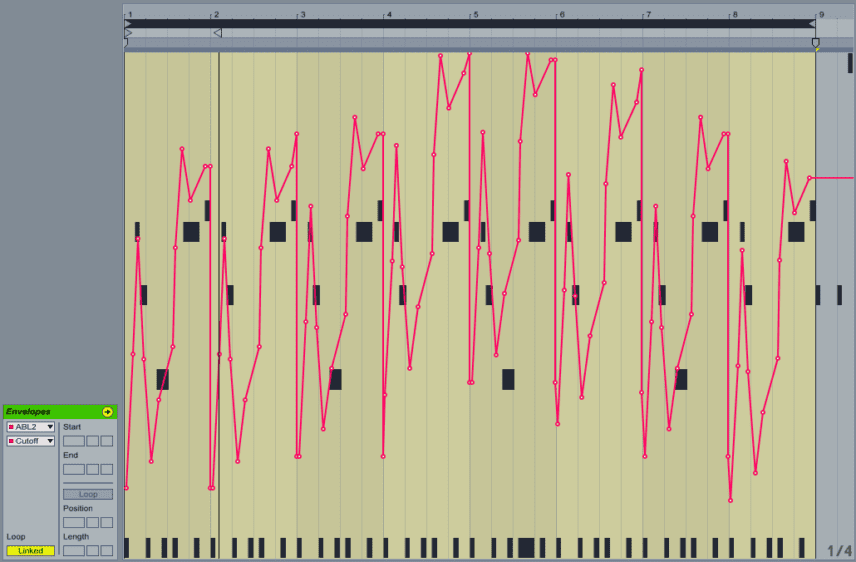
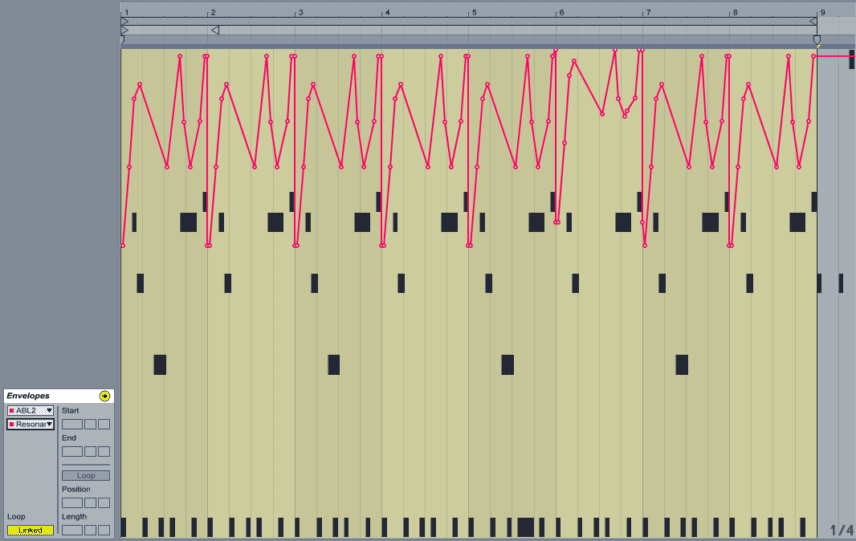
You can use any midi controller with rotaries to control the ABL2 by hand. However, in case you don’t have a midi controller to hand you can use the Envelope section in the midi editor within Live to manually alter your filter movements. You can also combine both techniques by recording a jam, and editing or looping the recorded envelopes in the editor afterwards. For example, we’ve made a performance recording of the CUTOFF and RESON and slightly tweaked using our mouse afterwards. Not everyone can deliver the perfect take!
Step 3: EQ & Saturation
Now we have the filter modulations we’re well on our way to the classic squelchy TB-303 sound that we are looking for. We want to accentuate these modulations as much as possible.
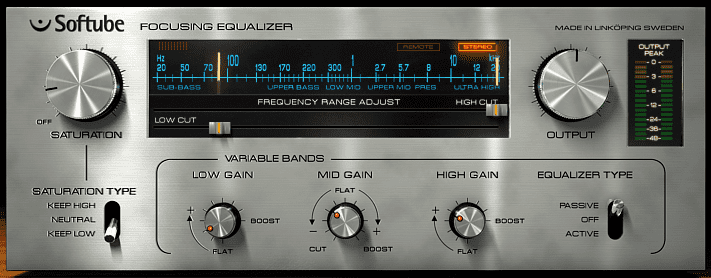
To do so, load up an EQ to push some of the juicier frequency bands. We’ve chosen the Softube Focusing Equalizer but you can use anything. Just play around with the EQ settings in the same way we have.
Let’s first drive the low end as we want the ABL2 to be present as our main bassline and for that we’re going to need to give it some more weight. We’ve turned the saturation dial almost a quarter clockwise and set the LOW CUT to about 85Hz while boosting the LOW GAIN. As you’ll see the Softube Focusing Equalizer has built in saturation but if you’re using a separate saturation plug in, put it before the EQ in your FX chain and apply a similar amount or more should you wish.
We rolled back the MID but have boosted the HIGH GAIN as a large chunk of the filter modulation we recorded in step 2 is in the 1000-500Hz range. The MID roll back helps narrow the focus where we have boosted in the low and high frequencies.
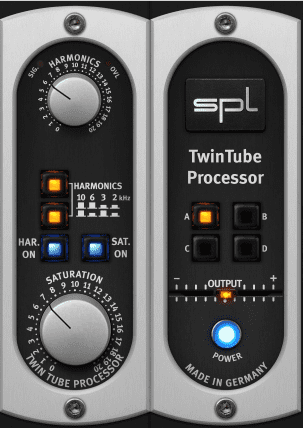
After the EQ we’ve oped for the SPL TwinTube which is a simple but very effective tool to add some tube-saturation and harmonics, perfect for that tethered-edge TB-303 sound that we all love. Ableton’s Dynamic Tube also does the trick.
Step 4: Delay
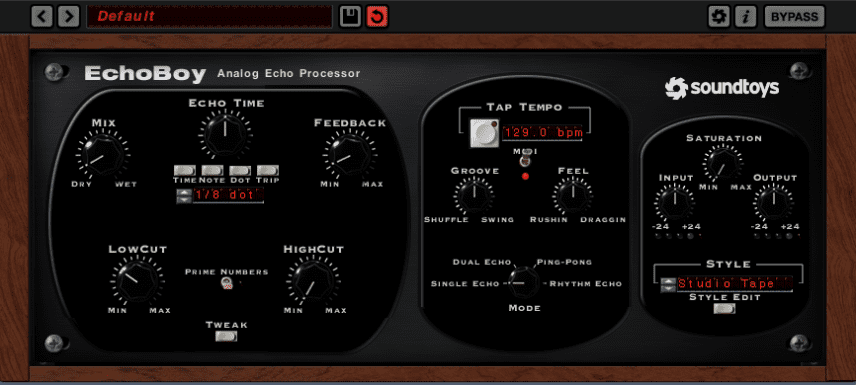
To apply more interaction between the separate notes of the bass sequence we’ve loaded a subtle delay.
With a dotted eighth-note delay length the notes begin to chase each other and infuse tension and movement to the sequence. A delay with a built in high-pass filter is preferred when using a wet delay setting. This keeps the delay from any interference with the low frequencies.
Step 5: Reverb
The icing on the squelchy cake is the reverb and in this case its a double helping!
The reverb will add depth and colour and its important to choose your reverb with care. The “Fake long spring Mono” preset from Max for Live’s Convolution Reverb Pro adds a metallic sounding gloss that nicely compliments the mid and high frequencies that we carefully sculpted in the previous steps. It serves dollops of character and makes the ABL2 sound more unique. We’ve rolled back the Size and Decay as seen in the settings below but left everything else as default.

Finally, we take it to church by adding another Convolution Reverb Pro but this time with a cathedral impulse response. The extra depth and spaciousness takes the sound to a whole new dimension.
To avoid muddiness, we cut the low frequencies using the built in EQ-section on the right side of the interface rolling off up to 400Hz. This results in wide reverb tails when the filter opens, and significantly less reverb when the filter is closed. This way the low-end band will stay tight while the high filter sweeps will be catapulted into a vast cathedral space.


Now the icing has settled we can serve up the final piece with an added drum loop for reference:
If you liked this tutorial you may enjoy “A Brief History of Acid House” – a fun illustrated and brief history of Acid House available in the Attack store.
