Just Want A More Advanced Reese
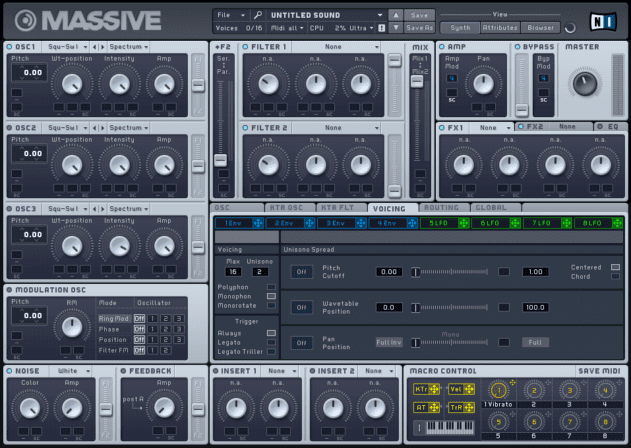
To get a more advanced, more up-to-date Reese sound we’re going to use Native Instruments’ Massive – check out the demo version here. Load up the synth in your DAW, then click the File button and select New Sound. By default this gives us a single sawtooth oscillator. We can get a fatter sound with a little unison detune, so click the Voicing tab and turn up the Unisono parameter to 2. Set the Voicing mode to Monophon.
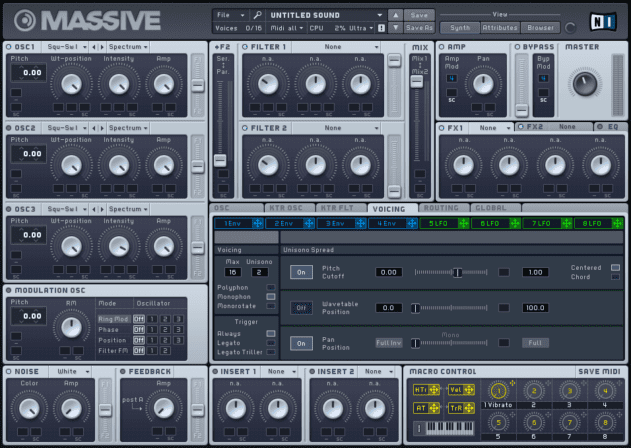
Audio PlayerNow activate the Pitch / Cutoff and Pan Position sections in the Unisono Spread panel on the right, and set the Pitch Cutoff fader to about just over half way like so.
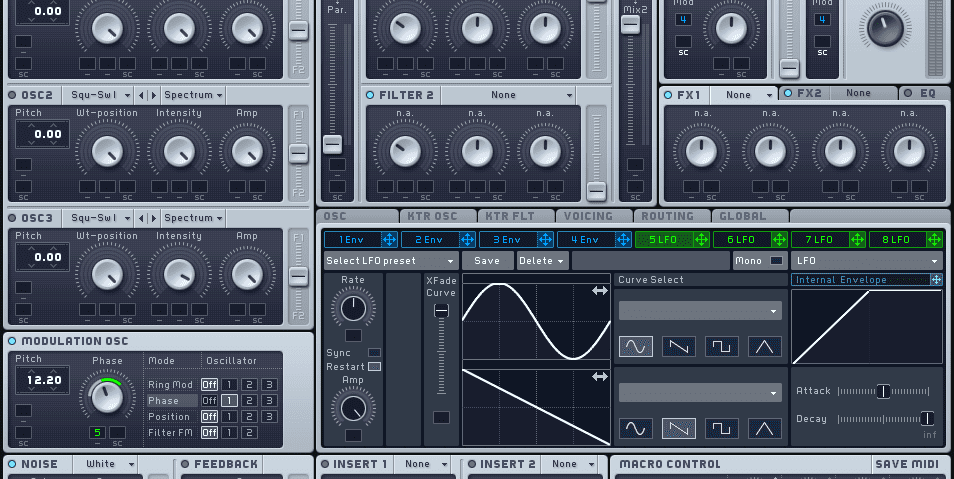
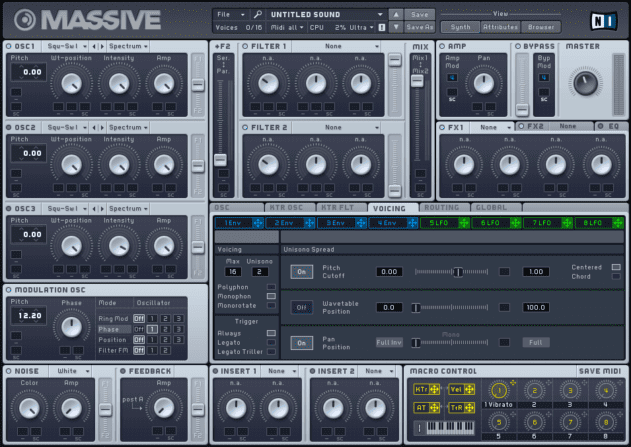
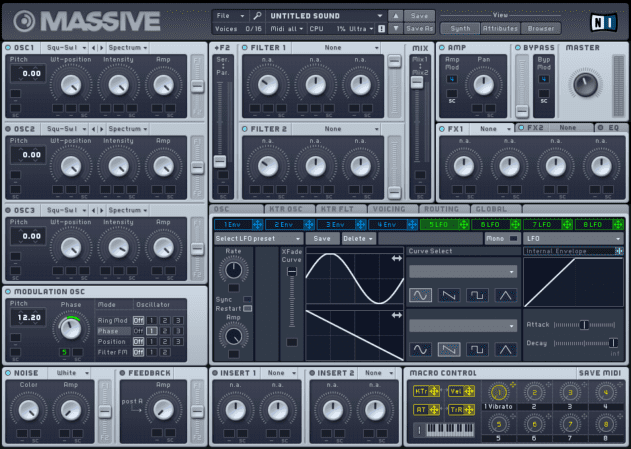
Audio PlayerIf we were making an old school D&B Reese at this stage we’d use distortion to rough up the sound, but we can create something more sophisticated with Massive’s FM-like phase modulation capabilities. Activate the Modulation Osc, and set the Phase Mode to Oscillator 1. This adds a lot of harmonics right off the bat, but we can get a richer timbre by detuning the Modulation Oscillator to +12.20 semitones.
Audio PlayerThis sound has plenty of movement and harmonic interest already, but we can take it to the next level by modulating the Phase parameter. Turn the Phase knob down to about 11 o’clock, then click the 5 LFO tab, and drag its XFade Curve fader all the way up to set it to a pure sine shape. Now drag the 5 LFO modulation handle to the first slot under the Phase knob. Drag up on the slot to set it to the modulation amount we’ve used here.
Audio PlayerThis gives us a filthy growl, the speed of which can be controlled using the Rate knob in the 5 LFO panel.
Audio PlayerNow try adjusting the Phase modulation and changing the waveform of Oscillator 1 to create an array of filthy bass tones! For example, here’s a square shape oscillator instead of the default saw:
Audio PlayerIf you enjoyed this Beat Dissected you might find our book ‘The Secrets of Dance Music Production’ a helpful resource for similar tutorials.
/**/
01.41 PM
The tutorial to rule them all!! Thanks for that.