There’s more to compression than just clamping down on dynamics. We show you three ways to expand your compression toolkit.
Along with EQ and volume, compression is one of the most employed techniques when mixing. At its most basic, we use compression to get a handle on dynamics and keep a signal within a manageable range. However, there are a number of ways to do this beyond just slamming down the threshold and cranking up the gain (although that can sound good too in the right circumstances).
In this piece, we’ll look at three approaches to using compressors that you may not have considered before. We’ll explore targeting specific frequency bands, using multiple compressors, and trying unusual routing to generate unexpected results.
Let’s turn up the pressure.
Technique 1: Internal Sidechaining
Our first technique involves internal sidechaining. When we talk about sidechain compression, what we really mean is external sidechain compression, or using a signal from outside the compressor to affect the way it works. However, there’s another kind of sidechaining, one that uses an internal signal.
An internal sidechain is essentially an equalizer circuit inside the compressor. This focuses where the compressor works onto a chosen range of frequencies. This is essentially what a de-esser is: a compressor with an internal sidechain that limits the action of the compressor to the band of frequencies responsible for sibilants in the human voice.
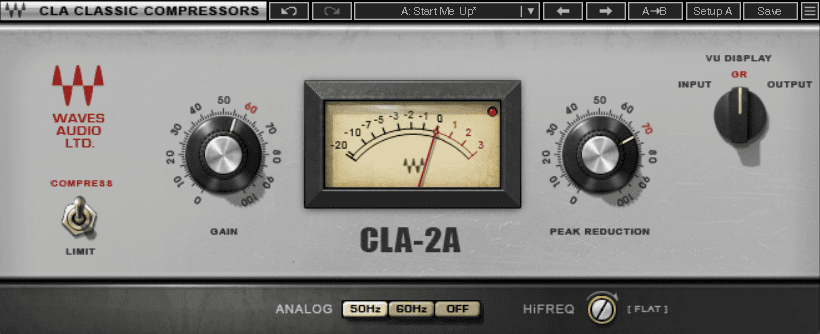
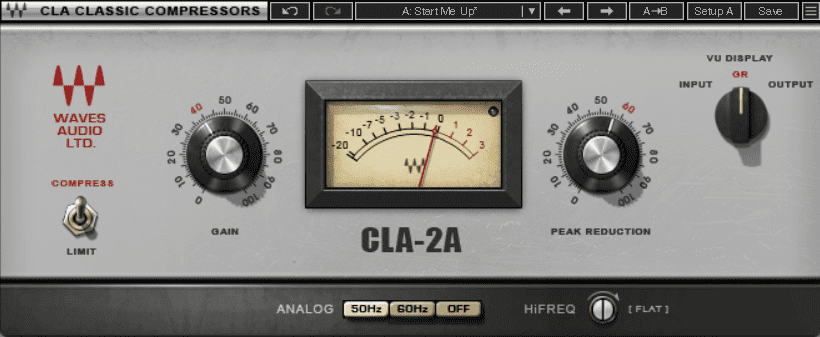
Internal sidechaining is useful when you want to affect part of a signal but not the whole thing, such as on a drum bus. Let’s use the internal sidechain capabilities of Waves’ CLA-2A, a model of the Teletronix LA-2A Leveling Amplifier, to compress just the highs in a drum loop.
Here’s the loop. It’s got a bright top-end and could use some added character:
Step 1
We place a copy of CLA-2A on the loop’s audio channel. It’s got an internal sidechain control that will let us compress frequencies above 1kHz.
Here’s the compressed audio with no internal compression:
Step 2
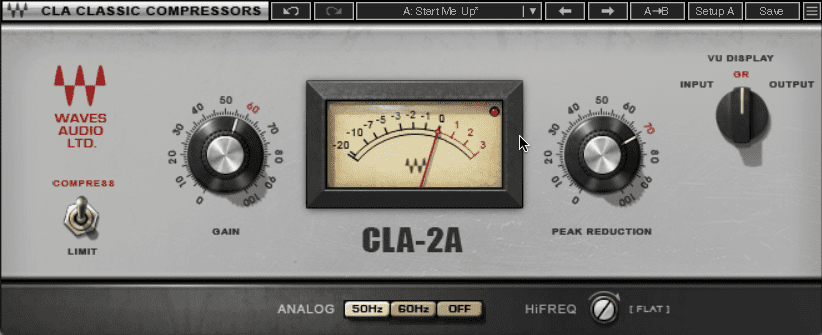
Turn the sidechain knob to pinpoint compression on the highs and remove it from the lows. As with any form of compression, we don’t want to overdo it. Stopping around 1 o’clock gives us a good balance.
The drums now with internal sidechain compression added to the highs:
And here’s the finished drums in the context of a track:
Technique 2: Serial Compression
We’re all familiar with parallel compression – running an unaffected signal alongside a compressed one gives us a parallel configuration. But what if we run compressors in serial, that is, one after the other? Spoiler alert: it sounds good.
Serial compression is a really useful way to create natural-sounding compression when working with an audio source that has a lot of dynamic range, for example, a vocal or live piano. Say we have a vocal take with both loud and quiet parts. If we use just one compressor, it’ll get tripped up by the peaks and won’t touch the quiet parts. We could try dialling in more extreme settings but that’s only going to result in a take with squashed (and possibly distorted) peaks.
The solution is running two compressors in line. The first unit will level off the peaks and the second will bring everything else up, creating a smooth and consistent sound that sits better in the mix.
Here’s our raw vocal. Although it’s been doubled, there are some big jumps in volume.
Step 1
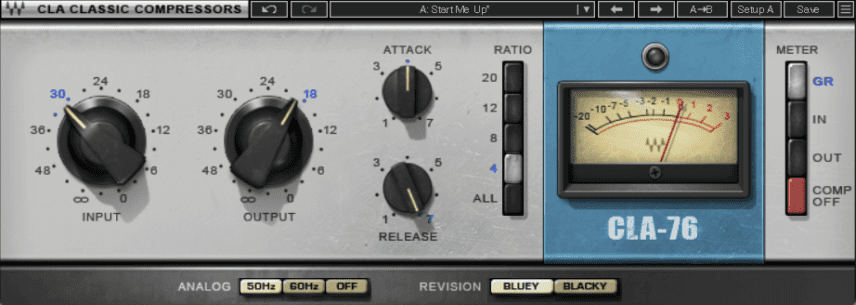
Let’s start with a fast compressor to catch the loud parts. We drop Waves’ CLA-76 onto the channel. It’s a recreation of the Urei 1176 FET compressor. It’s fast and will catch those peaks with no problem.
We set ours up with a ratio of 4. There’s no need to go crazy, we just want to level off the loud points a little. We go with an attack of 4, which is still pretty fast, and a release of 7. Remember, on 1176 comps (including Waves’) fastest is fully clockwise.
Here’s the vocal with the CLA-76 working on it. It’s caught the peaks but parts are still quiet.
Step 2
For the second stage, let’s use Waves’ CLA-2A. This uses an optical circuit that is naturally slow to respond. It’s also got a warm and round character that’s good for vocals.
The vocal with CLA-2A bringing up the quiet parts:
And here it is in the context of a track with a slight EQ boost in the vocal’s highs:
Technique 3: Split Signal Routing
For the last technique, let’s try something a little unusual and split the stereo signal, applying different compressors to each channel. Why not? After all, mixdown can be a creative process as well.
We start with the drum loop that we used in the example for technique two, above. It has decent balance but it’s lacking in character:
Step 1
Start by duplicating the track and then pan them each hard left and hard right. We’re going to place a different compressor on each channel. If the compressor plugins come in a mono option, use that.
We start with the left and add Waves’ Abbey Road RS124. It’s a smooth and characterful tube compressor modelled after the one used on classic Beatles records at Abbey Road Studio. We use a fairly fast release time (called Recovery here) and balance the Input and Output controls. That’s given us a nice, lightly pumping effect.
Just the left channel:
Step 2
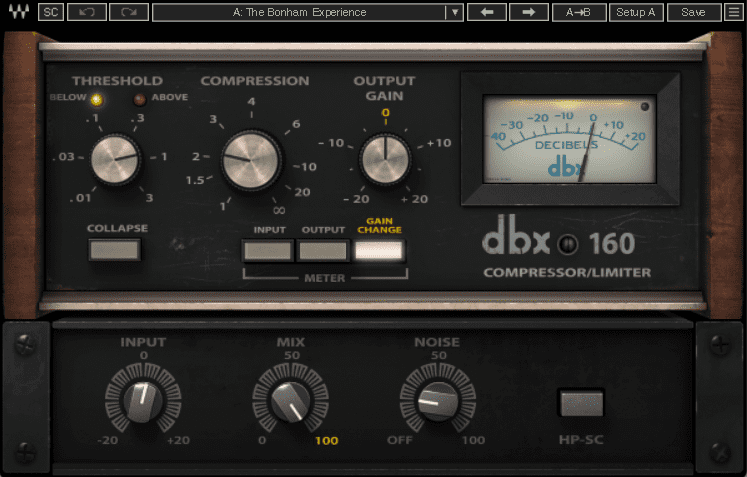
Now the right. This time, we’re using Waves’ dbx 160, a clean and fast-acting compressor that works wonders on drums. We go for a Compression setting of 2 and a Threshold of 1.
Just the right channel:
Both left and right together:
Step 3
For the final step, let’s bring some of the uncompressed centre channel back in to help glue it all together.
The drum loop with all three signals combined:
And now with the vocal and other musical elements brought back for context:
*Attack Magazine is supported by its audience. When you purchase through links on our site, we may earn an affiliate commission. Learn more.
