In this tutorial, we take a quick look at some of our go-to Waves plugins and their applications across a full beat.
For many producers, Waves are one of the first companies you might use. However, as time passes it becomes harder to remember which ones are essential. There’s just such a sheer amount of Waves plugins!
In this article, we look at some of our favorites for various production and mixing scenarios. Last year we started a mixing with Waves plugins tutorial series. We demonstrated how to mix tracks of various genres – like minimal house, breakbeats and deep house – and the stems we used were provided to us by readers and artists.
The mixing tips in this article echo some of the techniques we look at in the mixing series. As such, it can also be treated as a summary of key points from those articles as well.
Here’s the track we’ll be working on today with all of our Waves plugins active:
And here’s a version with all plugins bypassed:
N.B: We recommend following along with headphones or studio monitors. As ever, click any image to see a larger version.
Tip 1 – Subtle Low-End Boosts With RBass
Waves Renaissance Bass is a great two-parameter tool for adding that little bit of missing sub to drum and bass parts.
Here we have a kick and clap loop and we want a little bit more from the low end of the kick:
Let’s insert RBass and bring the intensity to around -14. If you are any higher than this it will probably be too much! It’s all about subtlety with boosting subs.
It can also help to first find the root note of the kick drum by using frequency analyzers like Voxnego’s free Span plugin. This will help you make boosts in the correct relevant frequencies. We’ll opt to boost at 59 Hz. Here’s how the loop sounds with RBass:
A subtle hint of RBass can also work well for adding power to pads and keys.
Tip 2 – Stereo Width With Brauer Motion
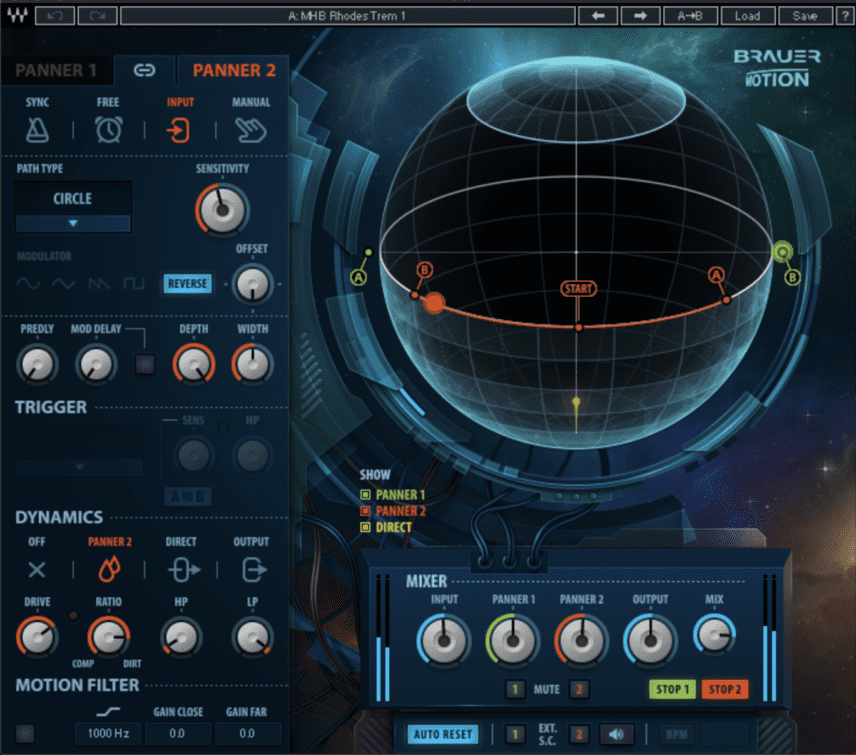
Width plays a huge role in productions. It can bring life to elements and help the listener to feel them more. One great way to achieve width is by automating panning. However, it can be tedious to draw in endless panning envelopes! This is where auto-panning plugins come in. Waves took auto-panning to a new dimension when they released the Brauer Motion plugin.
Brauer Motion has are four different panning modes for left, various different trigger modes and presets for continuous movement across the stereo spectrum.
We’ll try two different presets on the pad and effects of our track. Here’s the dry pad:
And here’s the pad with Brauer Motion’s MHB Rhodes Trem 1 preset:
The effects stem already has elements moving from left to right. Brauer Motion’s movement will add another dimension, making the part feel even wider. Here’s the dry stem:
And here are the effects with Brauer Motion’s HatShifter preset:
Even subtle movement can make a part far cleared in a mix.
Tip 3 – Bass Tone-Shaping With CLA Bass
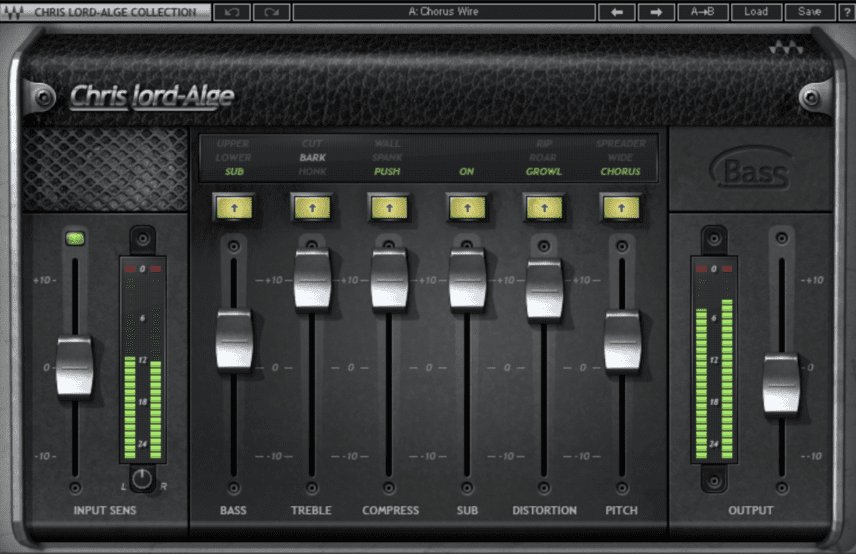
The now-ten-year-old CLA Bass remains one of our go-to tools for bass processing. Many are under the illusion that this plugin only works with electric bass recordings. This is false! It can do wonders for synth and sub bass parts.
Like other plugins in the CLA Signature Series, it emulates the workflow and gear of legendary engineer Chris Lord-Alge. Its simple parameters for EQ, compression, distortion and width make it very straightforward.
We’re going to apply the Chorus Wire preset to this dry sub bass stem:
Here’s the slightly angrier bass with CLA Bass active:
A useful tip for this plugin is taking it easy with the SUB fader because it can sometimes introduce too much low end.
Tip 4 – Adding Presence to Vocals
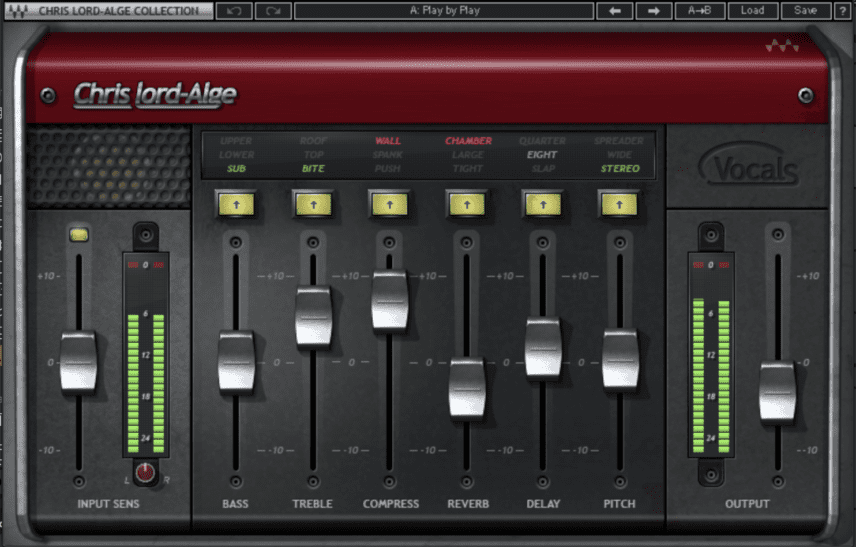
One more essential CLA plugin is CLA Vocals. This is another plugin that is breezing through the test of time. Like CLA Bass, it has six straightforward parameters. These include faders for EQ, compression, reverb, delay and chorus. The effects are all high quality and they can make even the dullest recording shine.
Here are the dry vocals from our beat:
With CLA Vocals it definitely helps to get started with a preset and then modify it to taste. We took a and ran it through CLA Vocals’ Play by Play preset:
You can hear that the high frequencies have been enhanced and that the loudness is much more consistent. The reverb also sounds vintage and imperfect, which can work for both hi-fi and lo-fi-style productions.
Tip 5 – Emulating an Analog Mixing Console With NLS
You might be starting to think that we like blasts from the past a little too much, but here’s one more from the early 2010’s; Waves NLS.
NLS emulates three large-format analog mixing consoles used by engineers Mike Hedges, Spike ‘Stent’ Lee and Yoad Nevo. The plugin comes as a pair – NLS Channel and NLS Buss. The idea is to place one instance of the NLS Channel plugin on every track in your session and the NLS Buss goes on the master channel.
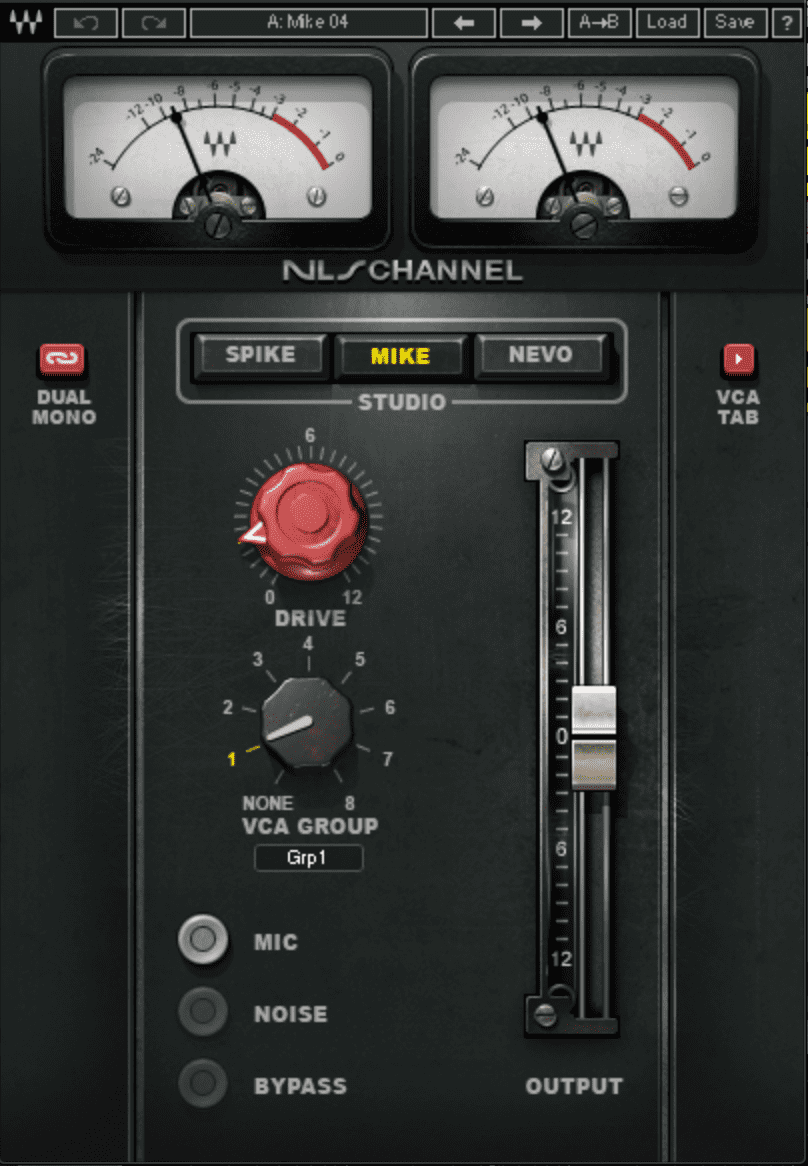
The main parameters in NLS Channel are the STUDIO buttons and DRIVE knobs. The STUDIO buttons allow you to select which desk you’re emulating. DRIVE allows you to introduce harmonic distortion and saturation. This process is an alternative to using different saturation plugins on all of your parts.
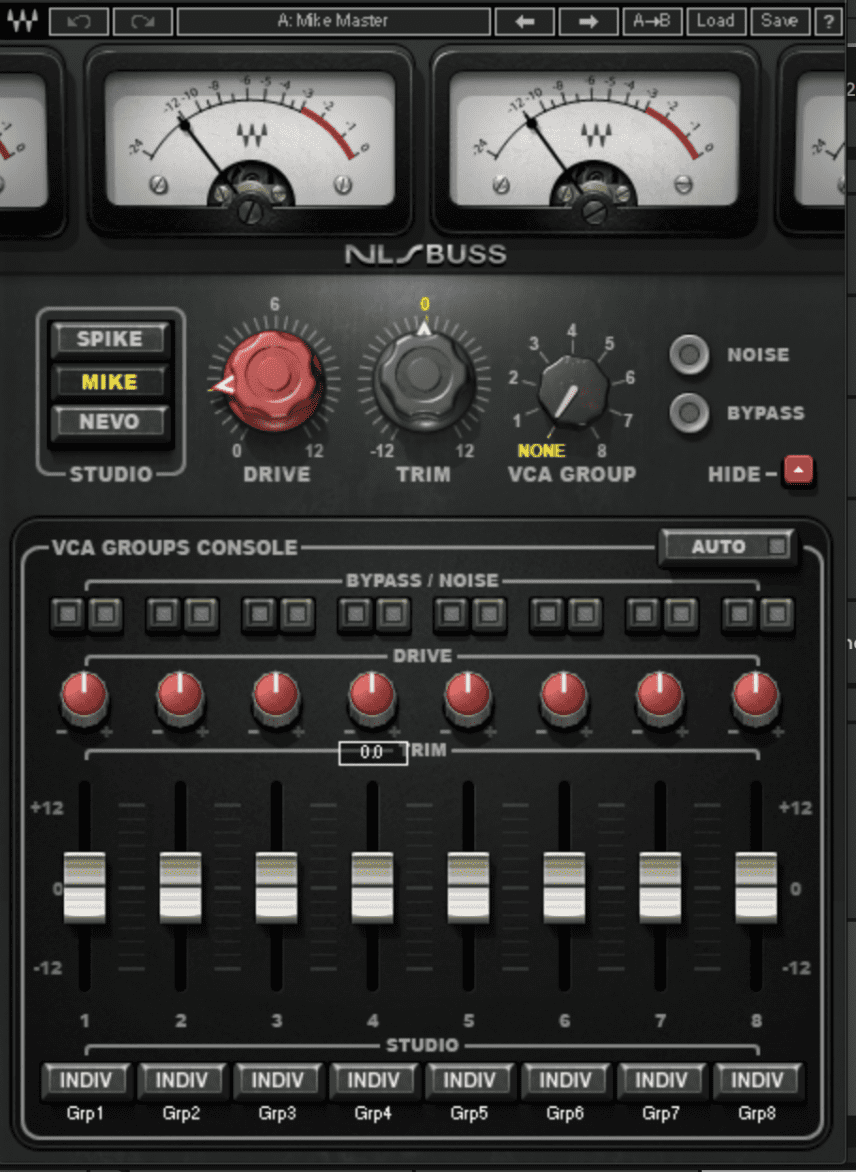
NLS Channel and NLS Buss work together because you can assign the Channel plugins to a VCA group and add drive to the whole group in NLS Buss. The plugins are all linked to each other.
We’re going to insert an NLS Channel on all of the stems of our mix (except for effects) and set their DRIVE parameters separately to taste. Anything above +2 or +3 will likely be too much. We’re also going to introduce even more warmth to the whole mix by increasing the DRIVE in NLS Buss on the Master Channel. We’ll opt to use the ‘MIKE’ algorithm as it sounded the best with our mix.
Here’s how the drop section of our mix sounds without NLS:
And here’s the drop with all NLS Channel plugins and NLS Buss active:
Everything immediately feels like it has more weight, warmth and power!
Tip 6 – Two Favorites For Mastering LinMB
These days, no mix is complete without a multi-band compressor doing something somewhere along the way!
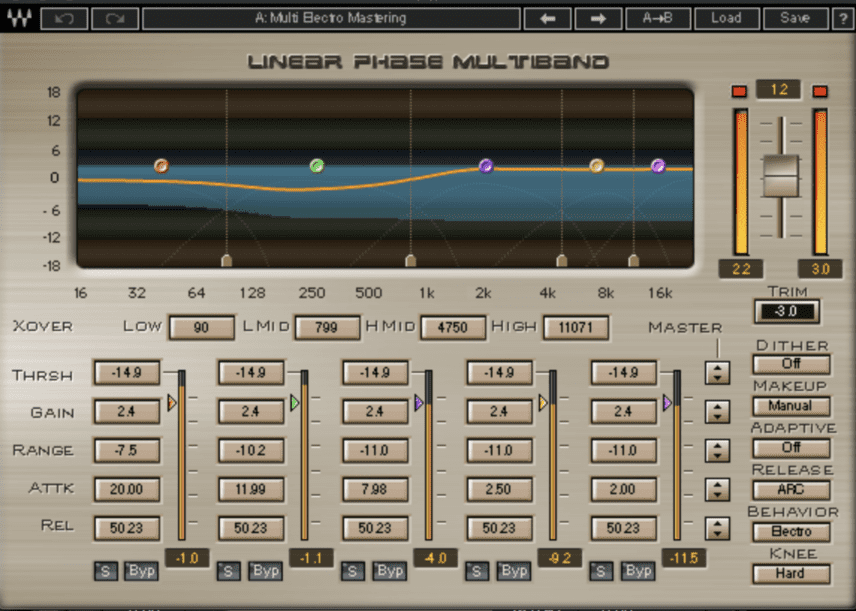
One of our favorites is Waves’ Linear Phase Multiband Compressor (or LinMB). It’s Multi-Electro Mastering preset is a secret weapon for gluing the mix together. Bring down the MASTER THRSH to taste, slightly boost the TRIM for some makeup gain and voila! Your mix will be much more balanced and tight.
Here’s the mix with LinMB in full force:
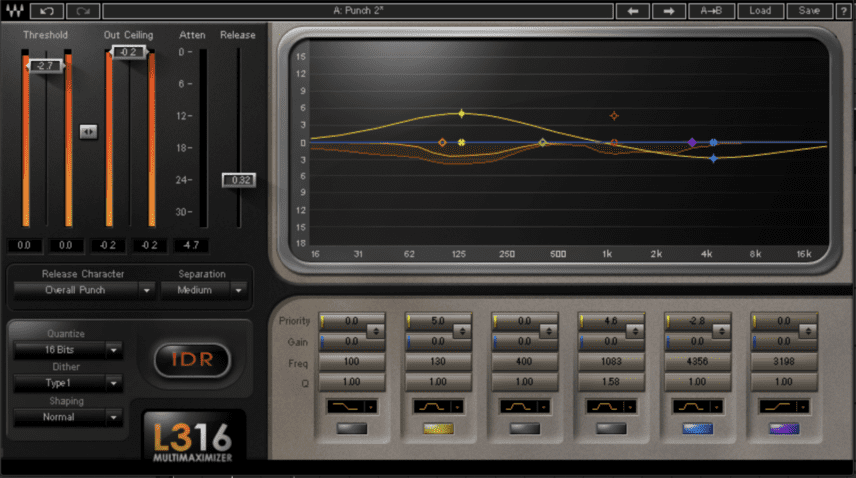
Another oldie but goldie, the L3-16 Maximizer is one of our go-to tools for adding that last bit of punch and cohesion to a mix. Either of the Punch 1 or Punch 2 presets remain as relevant as ever after nine years!
Let’s quickly recap the difference between limiters and maximizers. While a limiter simply knocks down the loudest peaks, a maximizer increases the loudness of a track and – at the same time – sets a ceiling for its peak level to prevent clipping.
You can increase additional points on the visual graph for limiting to occur at those points as well. The higher the point, the more limiting occurs.
Here’s the final mix with a dose of L3-16:
*Attack Magazine is supported by its audience. When you purchase through links on our site, we may earn an affiliate commission. Learn more.
While You’re Here…
If you like this tutorial you might enjoy our book The Secrets of Dance Music Production. It is available from the Attack store!
