In this tutorial, we program an IDM beat by using Output’s notorious sampler to slice up drum breaks and modular loops.
Arcade has been a point of debate in the industry since it first arrived in 2018. The fact that a lot of the kits are comprised of loops that, when played together, form a song has led some to argue that it is limiting. Others praise the software especially because the samples are all royalty-free and because of the quality effects macros that give Arcade a unique sound. Its monthly price of $10 also makes it widely accessible.
Rather watch?
We now have this Tutorial on our YouTube channel. Make sure to follow us there for all the latest video content.
In this tutorial, we are going to use Arcade’s Drum Breaks and Modular Circuitry Instruments to create a Squarepusher-style beat featuring sliced breaks and fills. Tracks like ‘My Red Hot Car’, ‘4001’ and ‘Beep Street’ all showcase the fills and drum madness that have helped define Warp Records.
Output is currently offering a free trial for Arcade so be sure to download the plug-in to follow along! You can also download the MIDI files here .
Here’s what we’re going for:
Step 1
Set the project BPM to 138, create a new MIDI channel and load up an instance of Arcade.
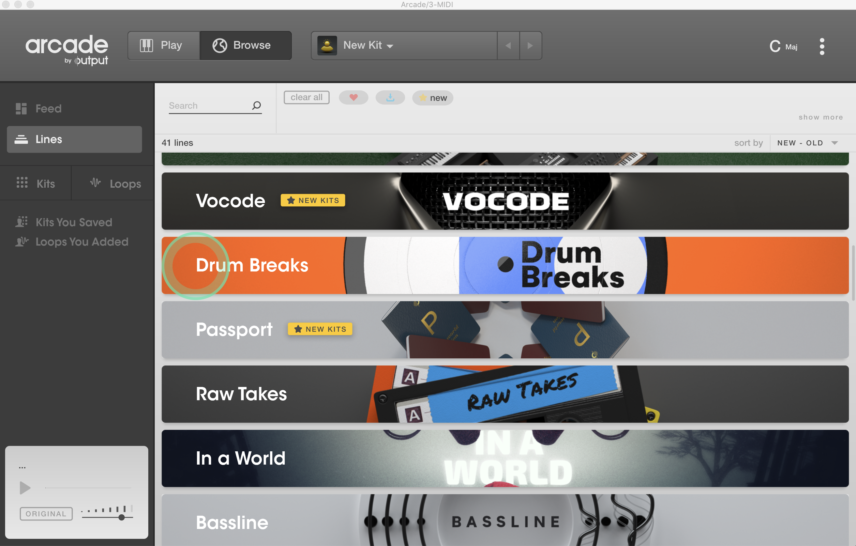
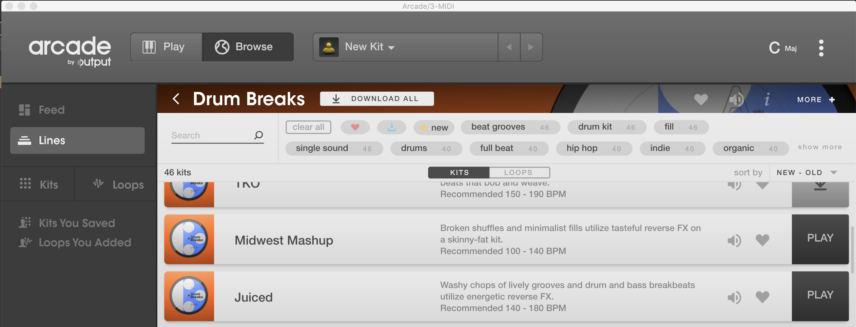
Locate the Drum Breaks instrument Line, click on it and download the Juiced Kit. Once downloaded, hit the Play button that appears next to it and the kit will launch.
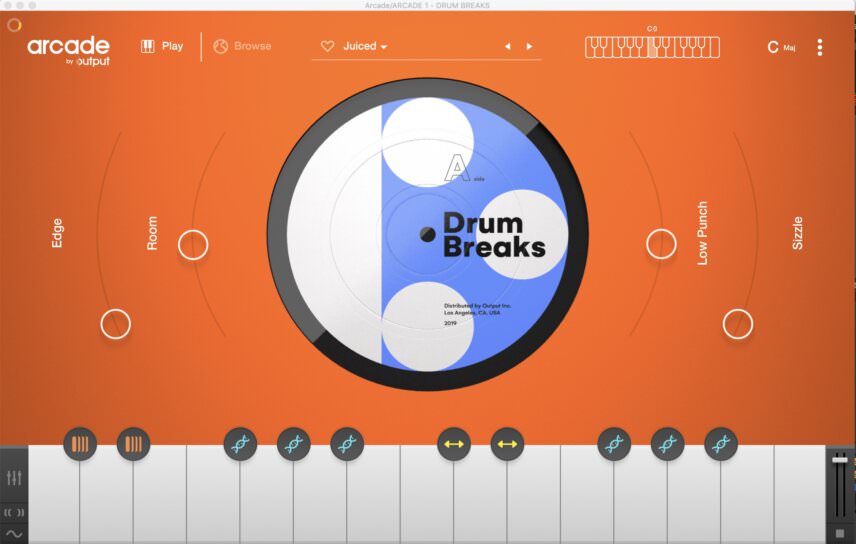
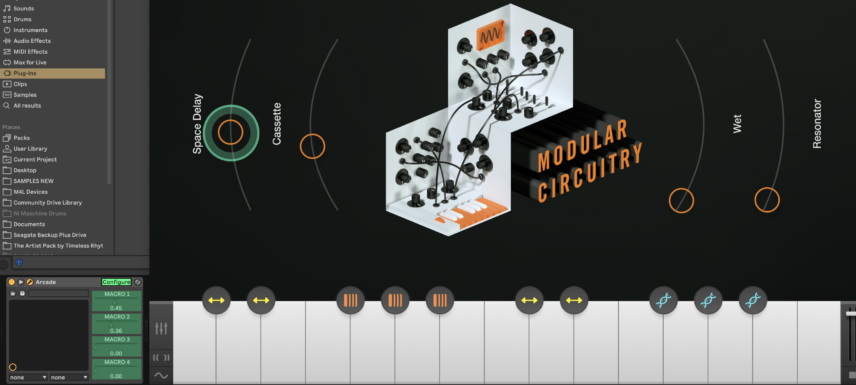
The way Arcade works is that two octaves of white keys on the keyboard all contain the samples/loops and the black keys act as effects. For example, if I hit a black key while holding down a white key, the effect kicks in. There are multiple types of effects like reverse and warp and these work great with drum breaks.
The other key element is the four effect macros, but more on these later. For now, set Edge and Sizzle to 0 and Room and Low Punch to around the halfway mark.
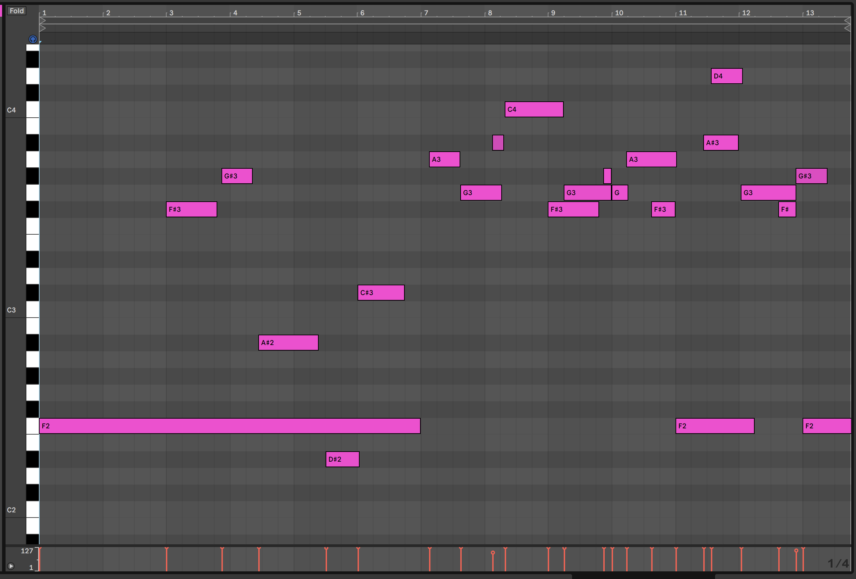
For the first half of the beat try holding down only one note. This will ensure that the same sample continues to loop. While that note is being held experiment with hitting the black keys on the keyboard to add effects and fills.
The best (and most entertaining) way to do this is live with a MIDI keyboard, but you can also get similar results with other types of MIDI controllers or even your computer keyboard. Another option is to simply program the part.
If you’re going to play the part in live, it is a good idea to enable input quantize. This ensures that all samples you launch start and remain in-time. To do this, click the three dots on the top right and select a note value for the input quantize. We tend to favour 1/4.
For the second half of the beat, we’re going to change things up by adding more samples and effects. It’s all about jamming with Arcade so there is no formula. Also, note that every single kit will yield different results.
We’ve also added a limiter to the channel to slightly beef the drums up.
Here’s how our sliced breaks sound after some jamming and MIDI editing:
Step 2
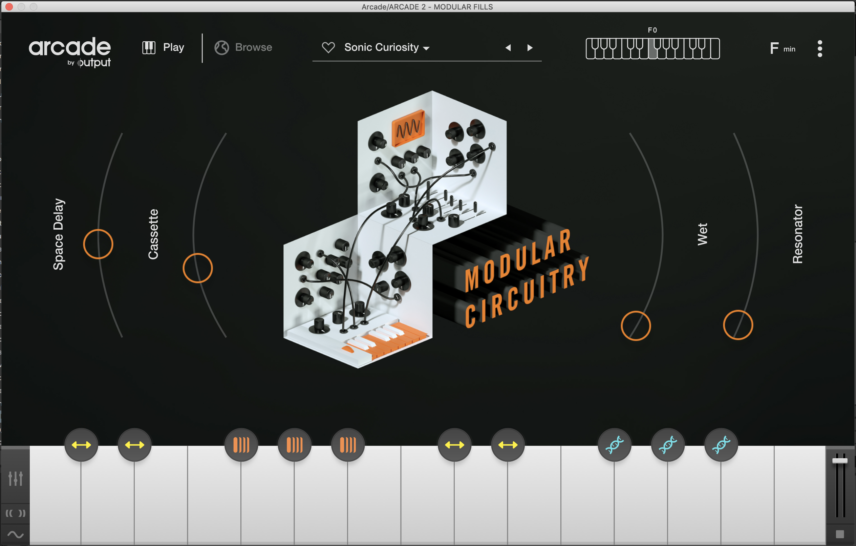
Load up another MIDI channel with Arcade and download the Sonic Curiosity kit from the Modular Circuitry Line.
This kit has a healthy mix of percussion and effects, a powerful bass hit and a built-in Space Delay.
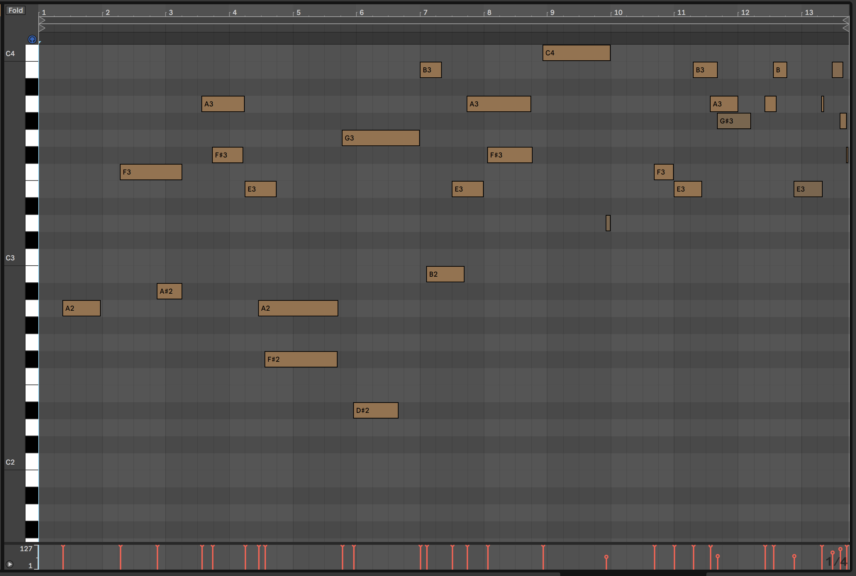
Ignoring the effects for now, hit record and experiment with launching samples with and without the black key effects while the sliced drum breaks are playing. It may take you three or four tries but record everything you do and you’ll be sure to come up with some great moments that click with what the drums are doing.
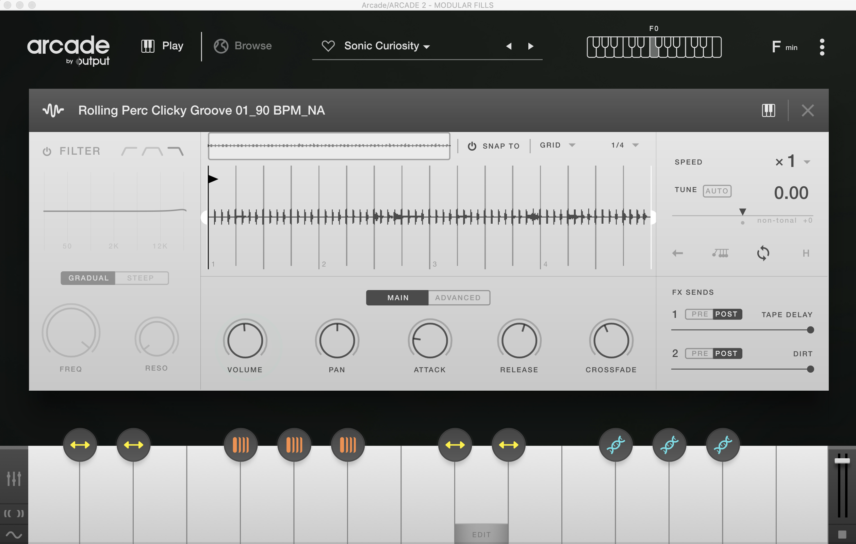
If a sample is too loud, hover over its white key to reveal the Edit button, click on it and reduce the volume. The Edit window also has a slew of other controls including filters, FX sends and ADSR.
Here are our two Arcade kits playing together:
And here’s the Modular Circuitry channel in solo:
Step 3
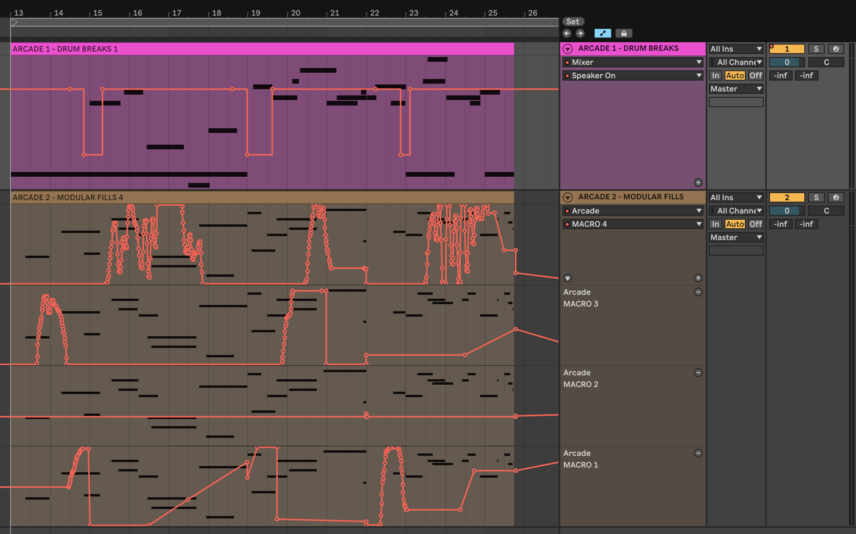
Now for the effects! To be able to record automation in Arcade click Configure in the plug-ins box in Ableton and then move each of the four effects macros’ faders. They should now be revealed in the plug-in’s box and ready for automation.
The best way to do this is to MIDI map them to physical knobs or faders so you can easily modulate them and record your automation live. The best part is that once you MIDI map these Arcade parameters to hardware, they stay mapped even if you change kits. This means that every time you open a new kit your effect knobs are ready to go.
We automated all four parameters of the Sonic Curiosity Kit (Space Delay, Cassette, Wet and Resonator) while our selected take was playing back.
Another idea for automation is to occasionally mute the drum channel to give some of the modular effects some space to shine.
Here’s our progress after the automation:
Step 4
The final step is some basic mastering.
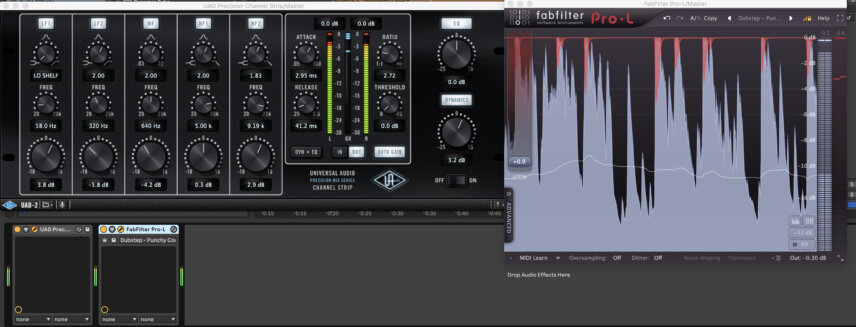
Add a compressor to the master channel, followed by your favourite EQ and a limiter to prevent clipping and add some punch.
Use the compressor to glue all of the madness together and the EQ to add some top-end air.
We used UAD’s Precision Channel Strip, which is both an EQ and compressor in one, followed by Fabfilter’s Pro-L.
The end result:
